


If you meant to read the Chronicle Of Innsmouth Mountains Of Madness review, go there first, and that being the case, at least play the game before reading this Chronicle Of Innsmouth Mountains Of Madness walkthrough. Are you quite mad?
Some clarity in advance: at the time of writing, I haven’t 100% the game in terms of achievement. If you’re after those accolades, look elsewhere.
 Jeitaro
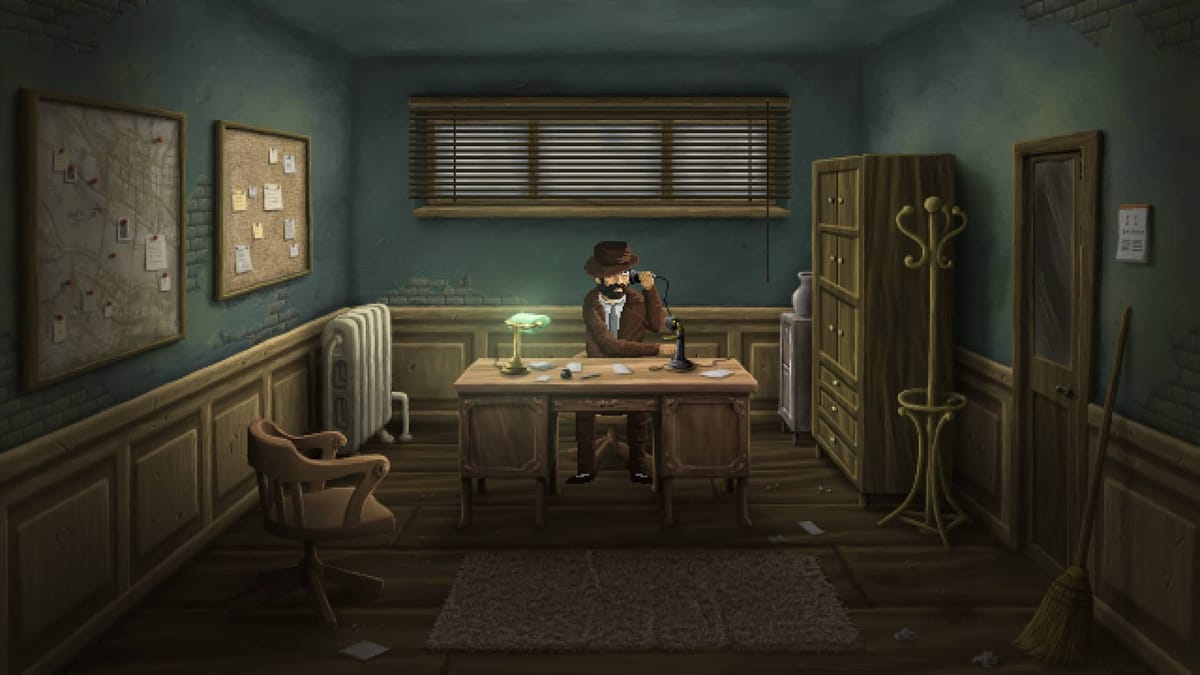
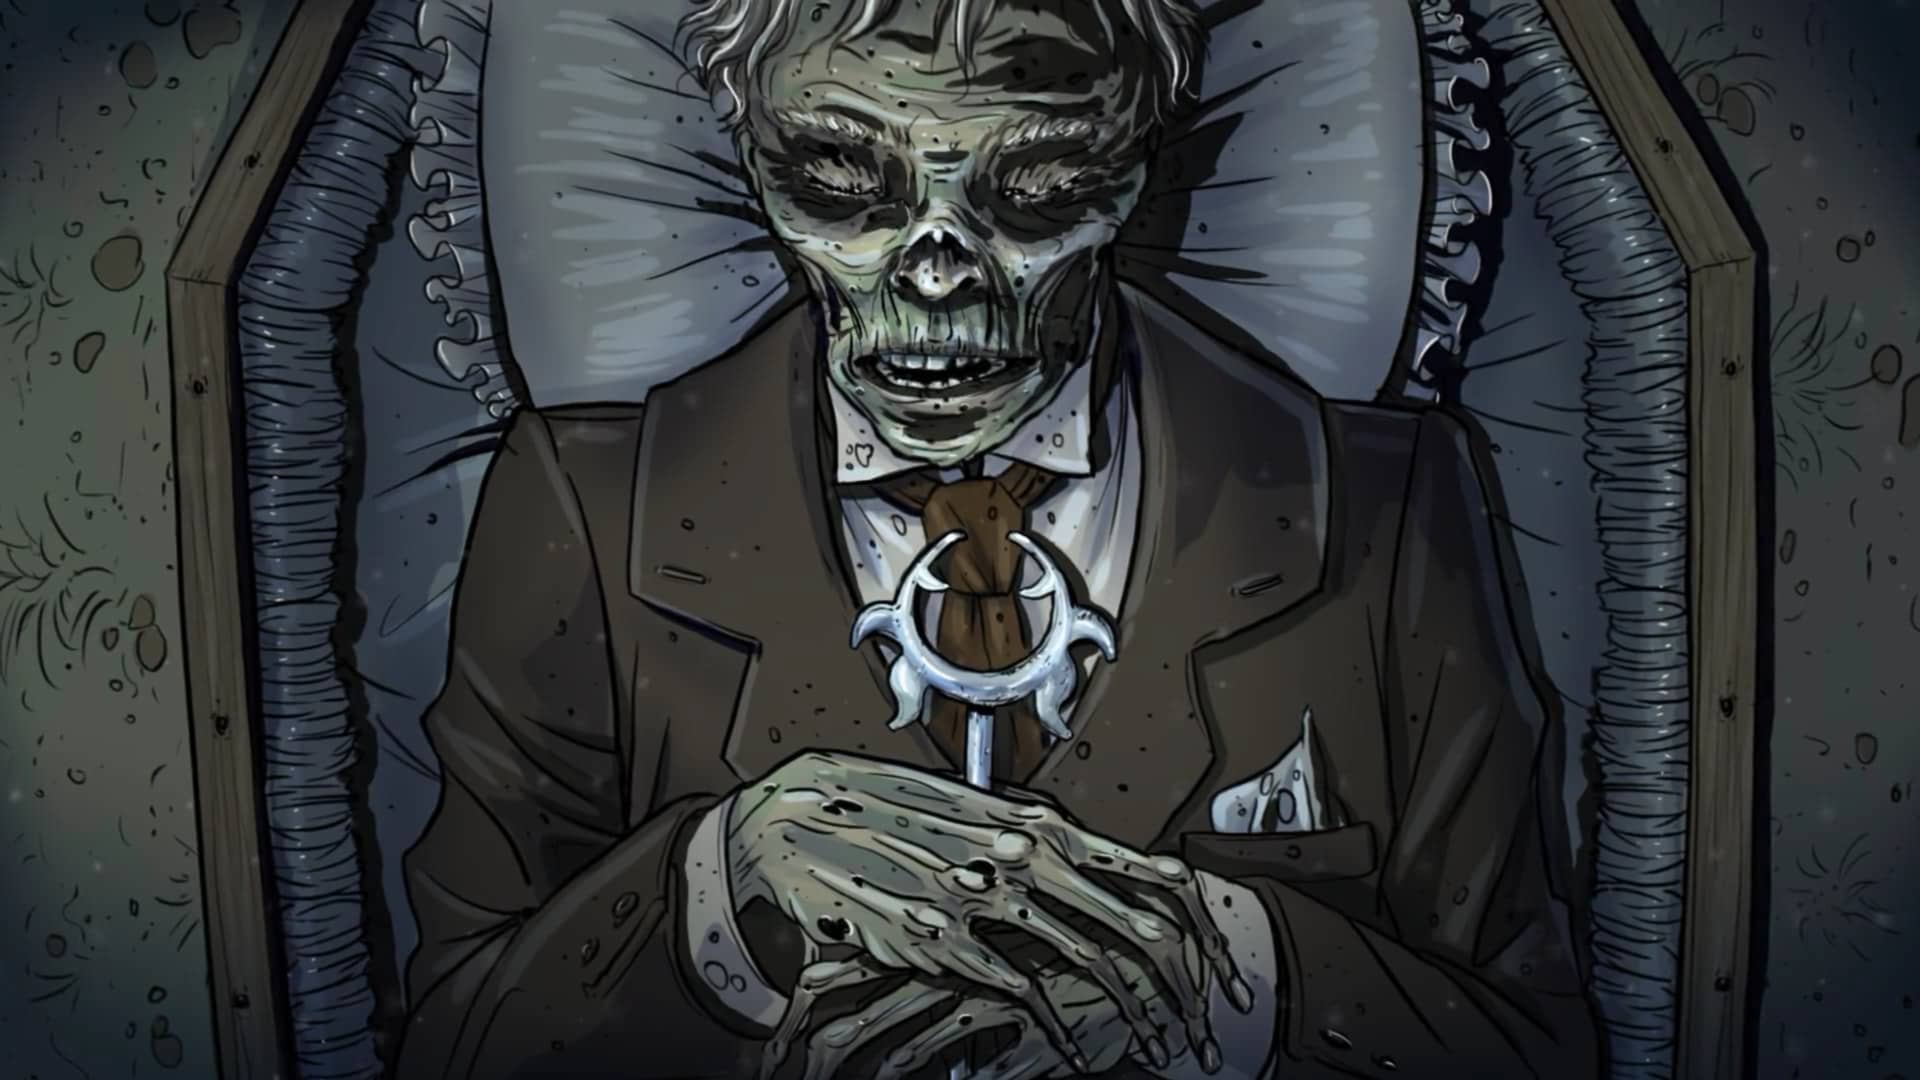
Chronicle Of Innsmouth Mountains Of Madness is an excellent game, and aside from the task of reviewing it, I thoroughly enjoyed my playthrough and braved some of the puzzles by myself. The antidote solution was tough. If you’re looking to finish the story, read on.
Chronicle Of Innsmouth Mountains Of Madness Walkthrough: Innsmouth To Arkham
Easy peasy opening stuff: pick up the planks, use them with the plank in the water, then stack them on top of each other. Take the reed, use it on the planks and head into Innsmouth. Once on the map, head to the railway station in the top right.
After the sequence, leave the office and head straight to the university. Speak with the receptionist and meet Armitage in the library. Afterwards, go back to the office, pick up the letter on the floor, and read it from your inventory. Leave again and head to the slum on the map.
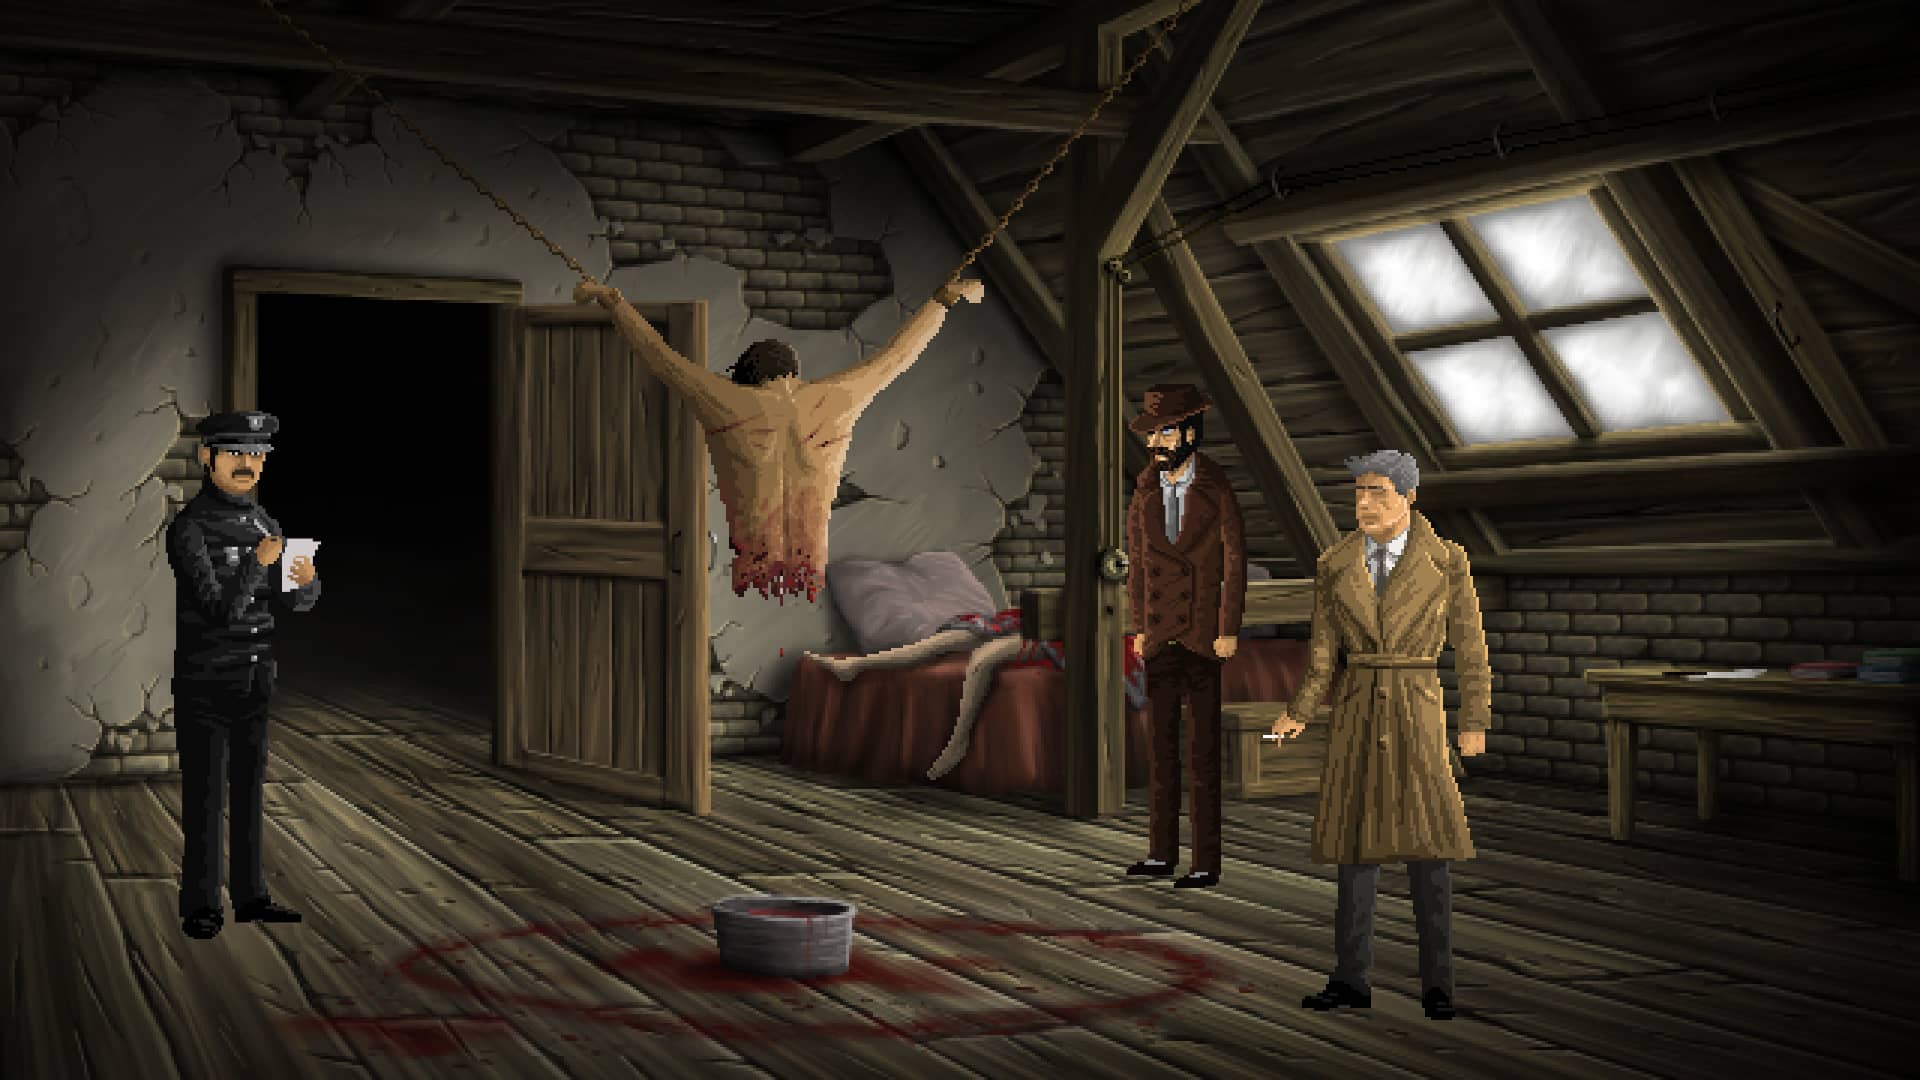
Exhaust the conversation with Alan and look around, making a point to inspect Sarah on the bed. Return to your office but head into the bookstore and ask all questions. Go into your office, take the broom, then look in the cabinets on the right. Take the lockpicks and the glass.
Pick up the noticeboard on the right, and stick the broom through to reach the paper. When it doesn’t work, apply the glass to the broom in your inventory, then use it on the carpet to create static. Repeat the trick in the wall, then head down to Calvin in the bookstore. You’ll gain a telephone number to call (close the blinds and switch off the lights for an achievement).
Jeitaro
Pick up the phone, say you’re after some information with the following responses: John Smith > You sound nervous > Calm down miss > You have a big problem > You’re All going to jail > We’ll make sure you all end up in the slammer.
Head to the map and go to Blanko’s house. After the dialogue, return to the university. Go inside and hear from the receptionist that Armitage isn’t in. Without the latter’s permission, you can’t enter the library. Go back outside and use the lockpicks on the toolbox. You’ll take the shovel.
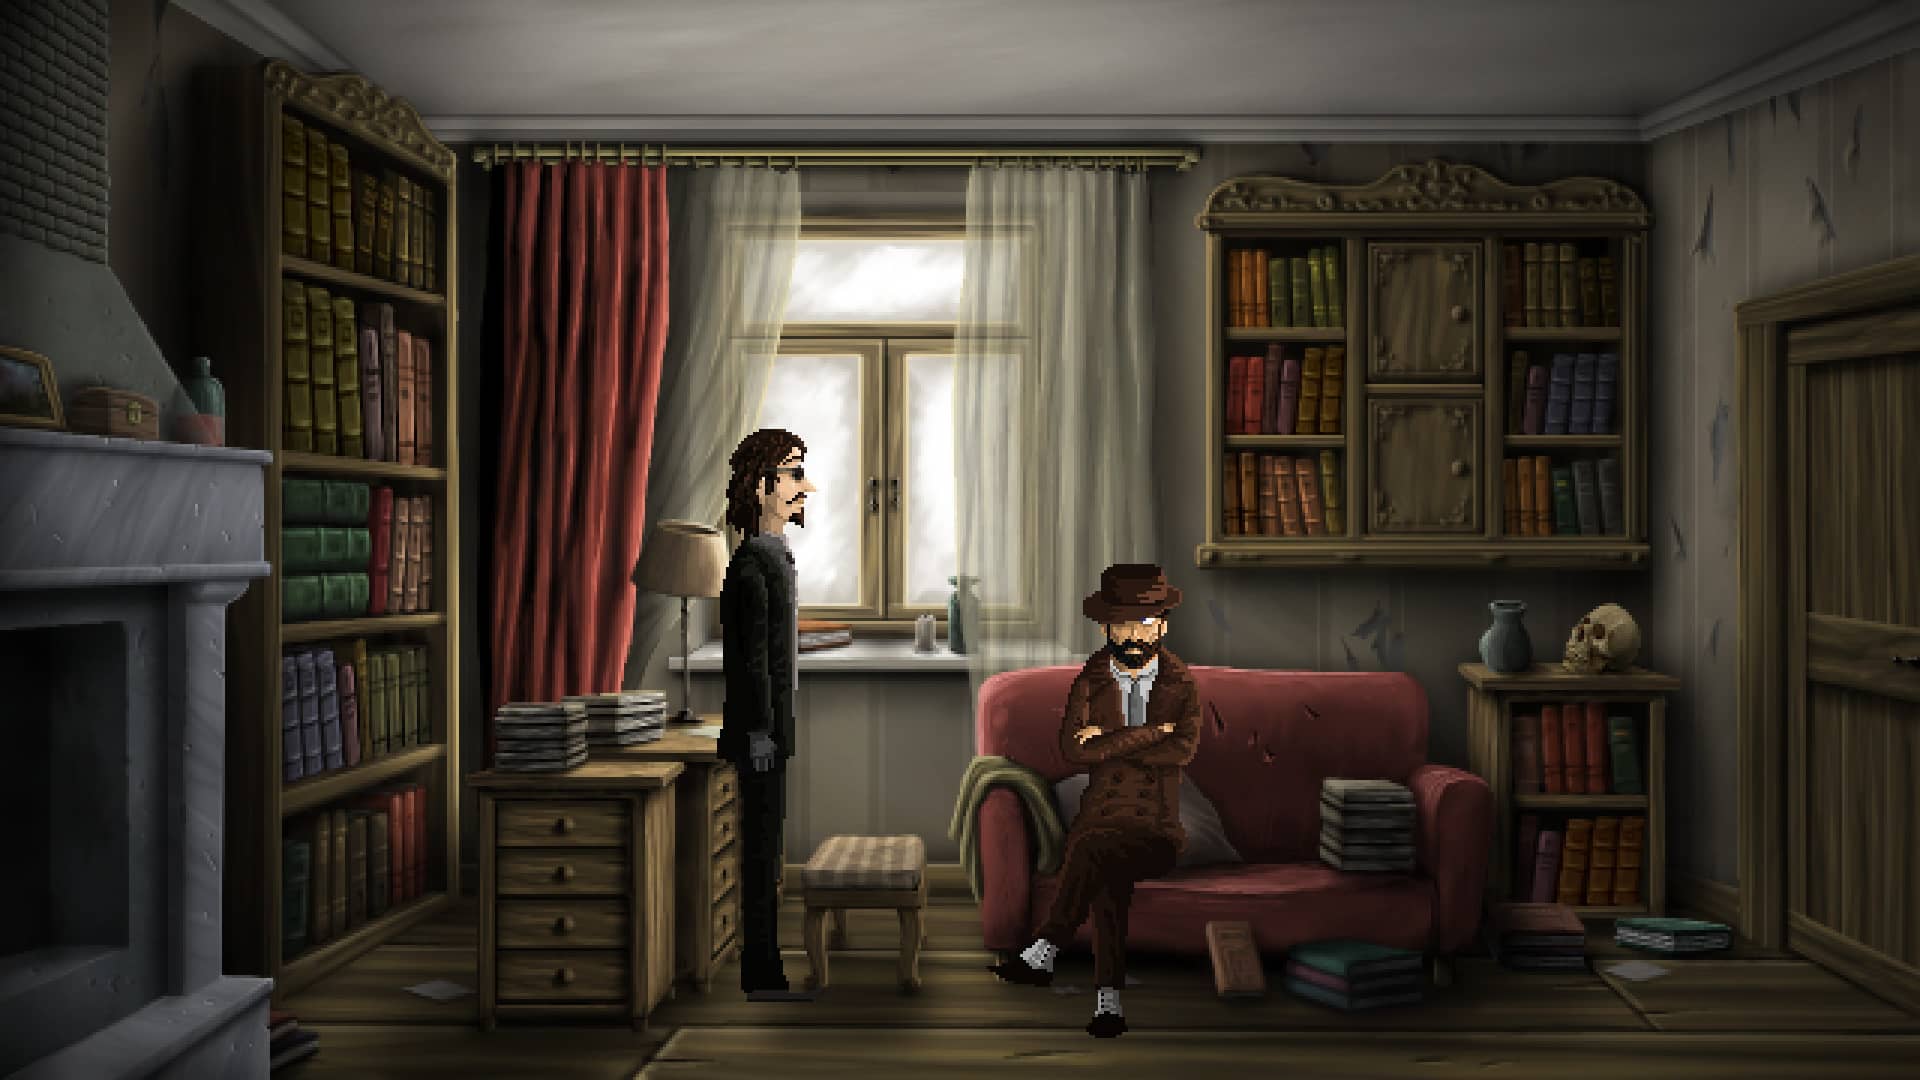
Now head back to the slum, close the door and pick up the paper and pen. Get on the desk and automatically unlock the window. Touch the bar, and you’ll note a familiar item on the door. Use the paper on the symbol to make a note of it. Back to Blanko’s to show him the symbol. Head to the asylum, speak to Rose, head off to the far left to talk to Upton. Ish.
Off to the archives. Speak to the archivist and ask about Upton and Waite. Exhaust all the options, then head to the shelves. To the right, you can look up Waite’s daughter’s address, once you have it.
On the far left shelf, search for Waite’s death in the 1915 section. On the shelf to the right, look up both Waite and Upton. Go back to the archivist and ask about Waite’s occupation, then about the cemetery. Make sure you check the 1913 section (second shelf from the left) to locate the photo.
Go to the asylum, speak to Rose, then head down to the left end of the corridor and speak to Upton. Try talking to him, then show the photo, and he’ll reveal a name. Now off to the cemetery. The grave you’re looking for is in the bottom right corner, but one (next to PsychoDev). Back to Blanko’s, then to Lone’s office to sleep until nightfall. After sleeping, head to the cemetery.
Howard’s Intermission
As Howard (Howard who? wink wink), pick up the pen on the desk. Use the pen on the portrait on the wall to your right. Read the book on the centre shelf for the solution to the globe puzzle.
Boston – France – Arabia
Us the key on the trunk, then read the book. Back to Lone.
The Perfect Drug
Go with William. When you arrive, open the trapdoor to get the strange liquids. Knock on the door twice, speak to William twice, then click on the door to break into the property.
Click on Akeley twice, once to wake him up, the second to retrieve his notebook. Select the book on the sofa to get the manuscript. This was a pig to solve, but the active ingredient (for reference) is
2 red
4 blue
8 green
To create an antidote, you need to follow the notes and compare them with the above, but I know you want the answer.
Set the solution to:
4 yellow
2 blue
8 green
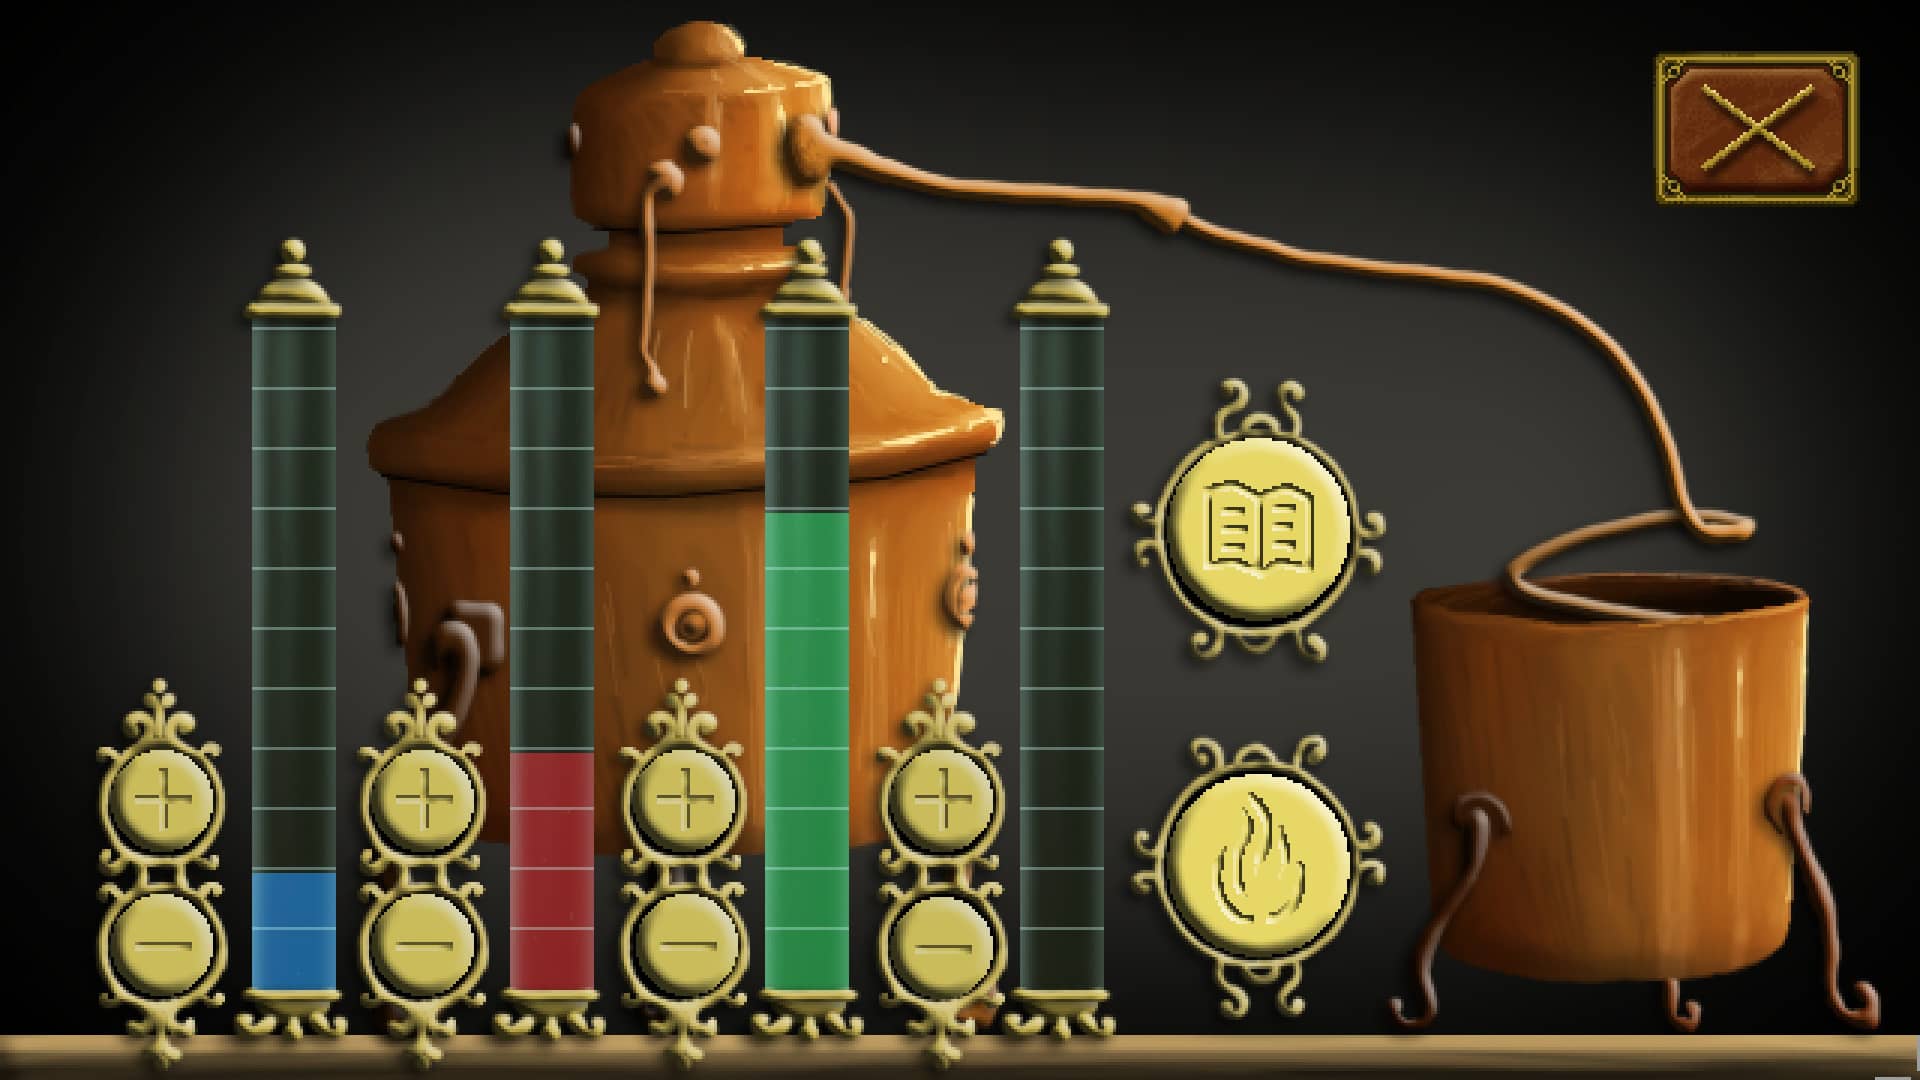
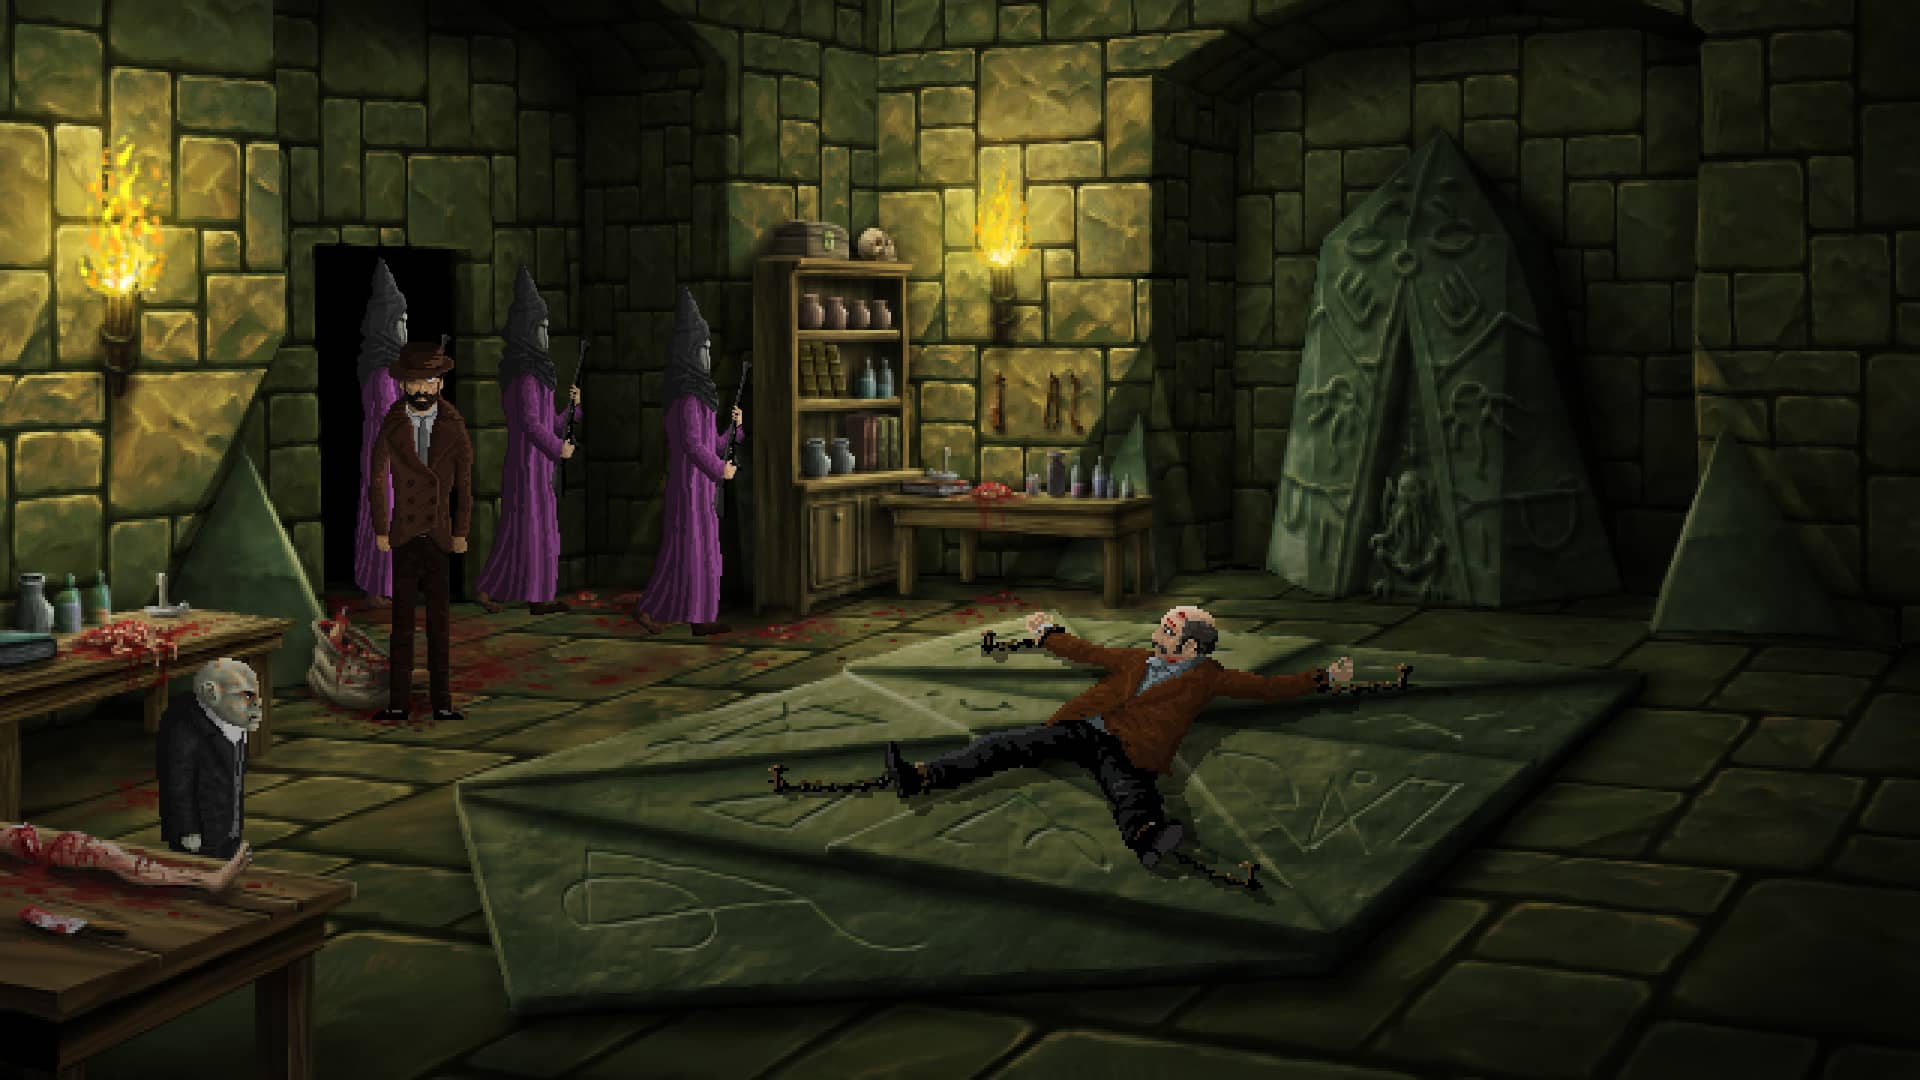
Then use the syringe on Akeley, watch the cutscenes, then head to the altar in the church, enter, and approach the altar. Use the key in the device. To rotate the puzzle anti-clockwise, it’s the left mouse button, and vice versa for the right mouse.
The solution is in the plaques in the church and resembles a safe combination. Starting with the bottom left, you go through each plaque in order from left to right. The chairs on the left are a left-click, the ones on the right… right.
7 3
7 5
3 4
Solution: left-click x3, right-click x4, left x7, right x5, left x7 (thanks to Dominic for the correction – apologies to anyone who juggled that!) and right x3 and it should open. Click on the strange object, then return to the asylum so Blanko can distract Rose. You can now head right to the cabinet, then take the medicine for Akeley.
Jeitaro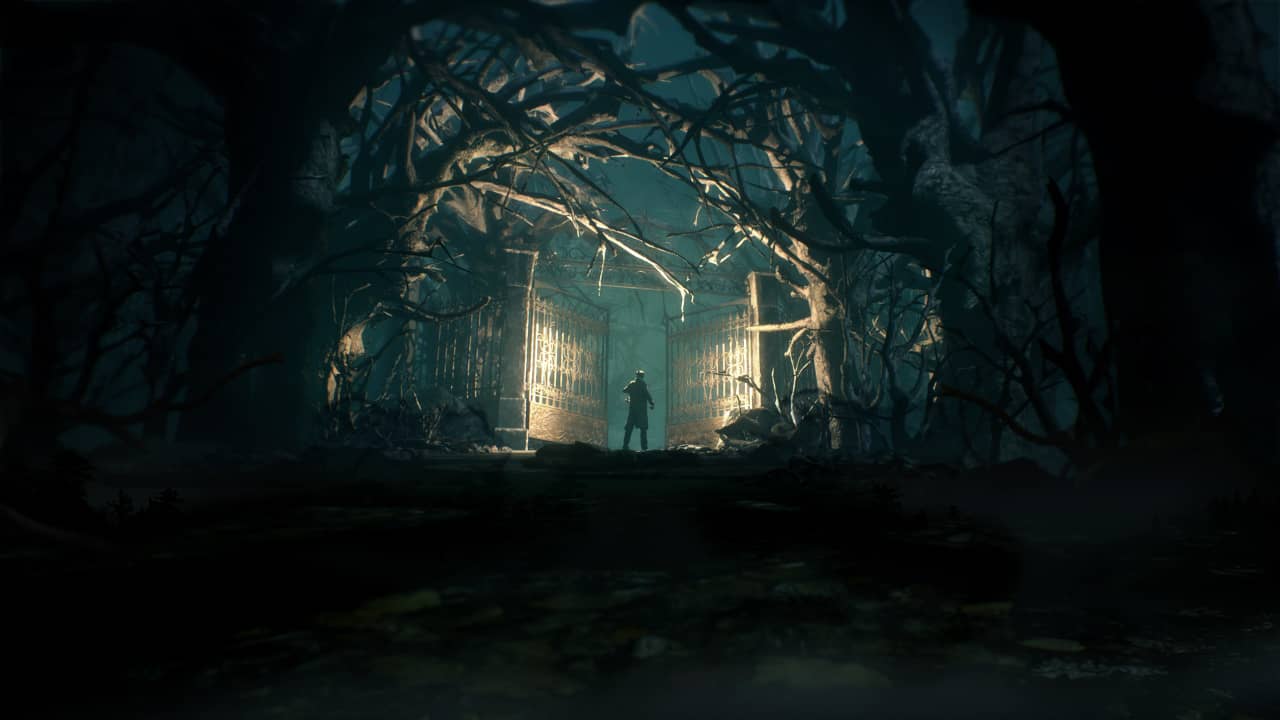
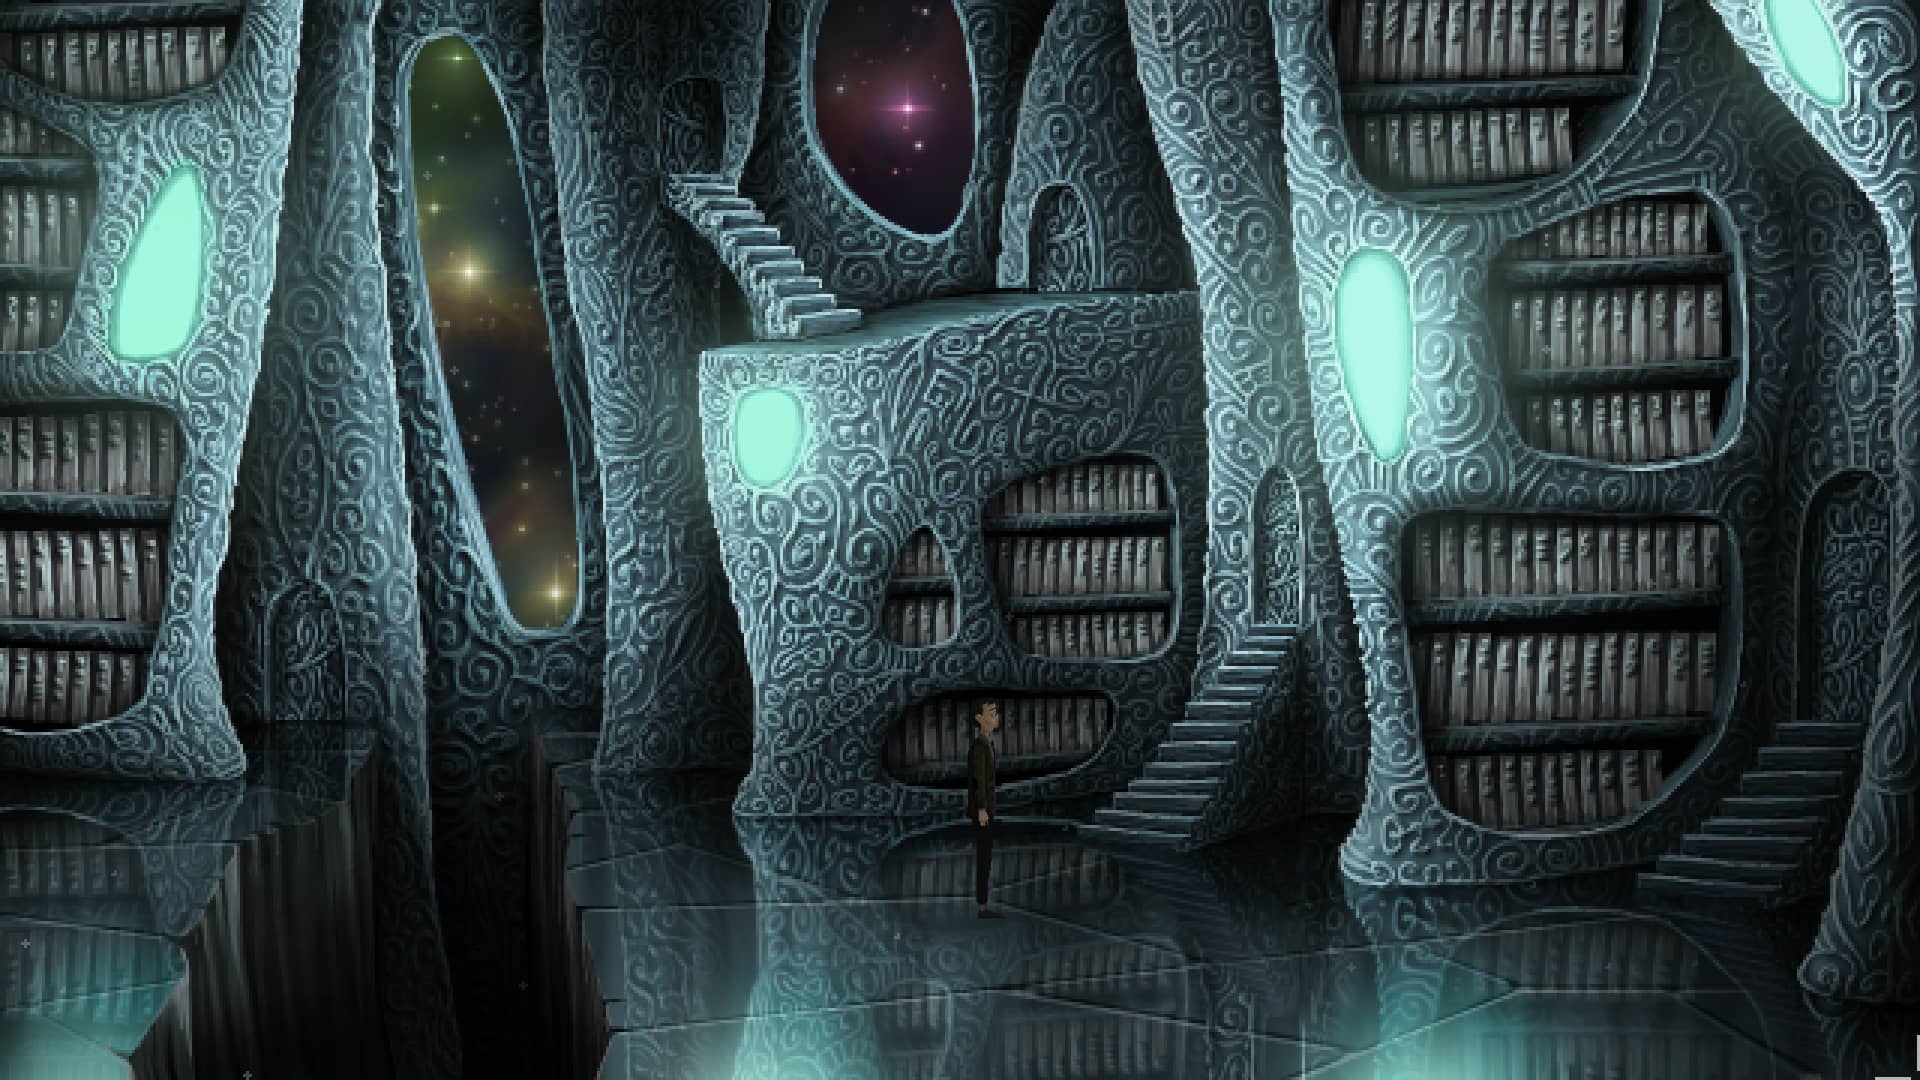
Akeley Intermission And Alhazred Cameo
Look at the books to your immediate right, then enter the passage that opens. Look out the window (right-click). When the dialogue options open, stay silent. Head through the next passage. Right-click the strange light. What motivates you: the search for knowledge.
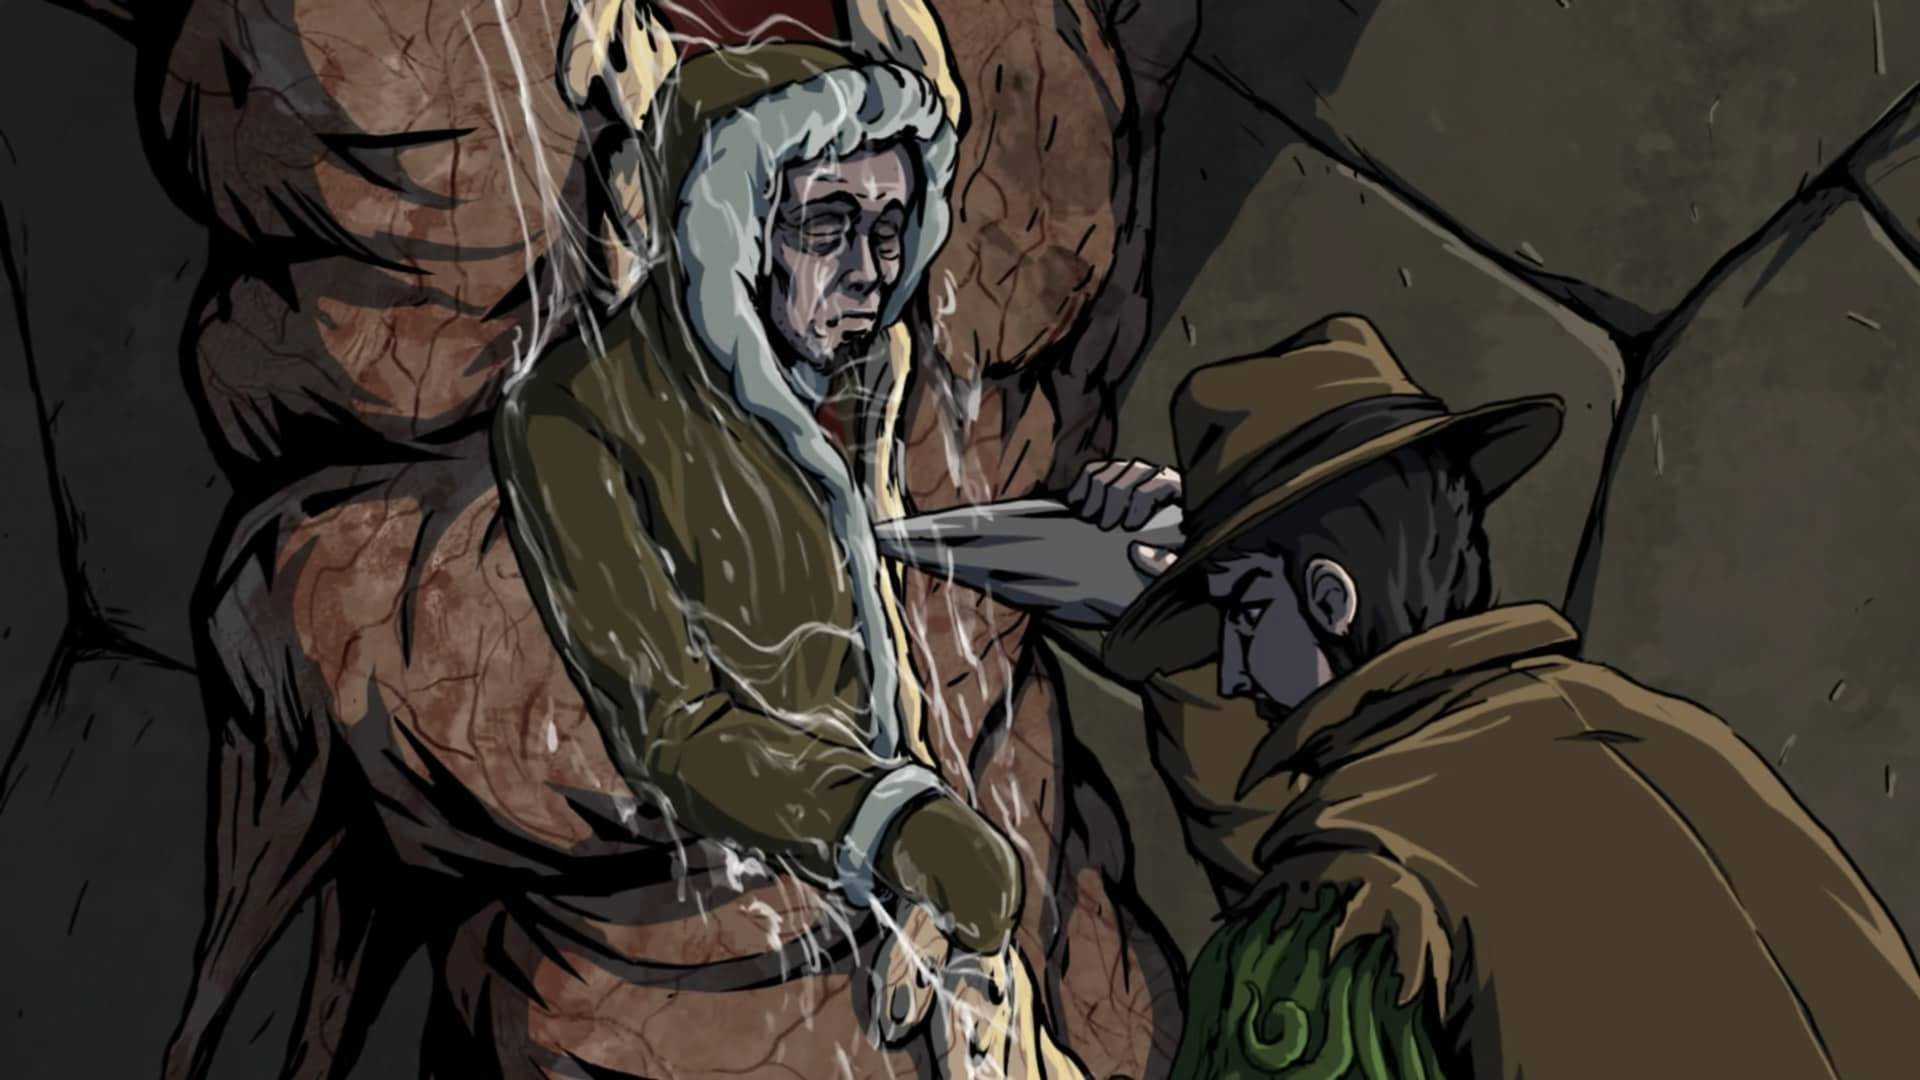
Now the characters have merged, touch the wall to meet Abdul Alhazred. Go to the Keyholder’s room to the right. Head up and pick up the hook found on the rope. Go back and up into the Keyholder’s room on the left and speak with them. Exit and head right to the dungeons.
After speaking with his mother, inspect the middle cell and take the bar. Combine it with the hook. Speak with the prisoners, then go outside and use the bar hook on the guard that moves to acquire the key. Back to the Keyholder’s room and use the pendant on the lamp. Speak to the prisoners once more. Look to the immediate pillar to your left for the hidden lock and use the key. Open your mother’s cell door, then watch the cutscenes.
At The Cemetery Gates
Go to the Lone’s Office and obtain the compass and the lantern automatically, then back to the cemetery and into the woods. Follow the compass direction (go left, then immediately up. Left, up, left and use the construction). You’re unable to do anything inside, so leave and head to the right continually. Speak to the lads, and they’ll press say there’s a button on the compass. Now follow the path once more.
Press the red button on the compass and follow the directions and as you come across each tile, select an image in the following order (make sure you choose only one at a time; follow the compass, tile 2, follow the compass and so on). The order is:
Ocean – mountains – starts – pipers.
This will trigger the door, so follow the compass once more to the construction. Go through the open doorway and watch the terror unfold.
Chilly Down In The Snow
After the setpieces, look at the medical records on the desk. Inspect the corpses. Notice the neck on both of the bodies. Go to the diluent and combine with your extract (or use directly on Jean-Paul’s mouth for an achievement). Use the mixed concoction on Jean-Paul (the right body).
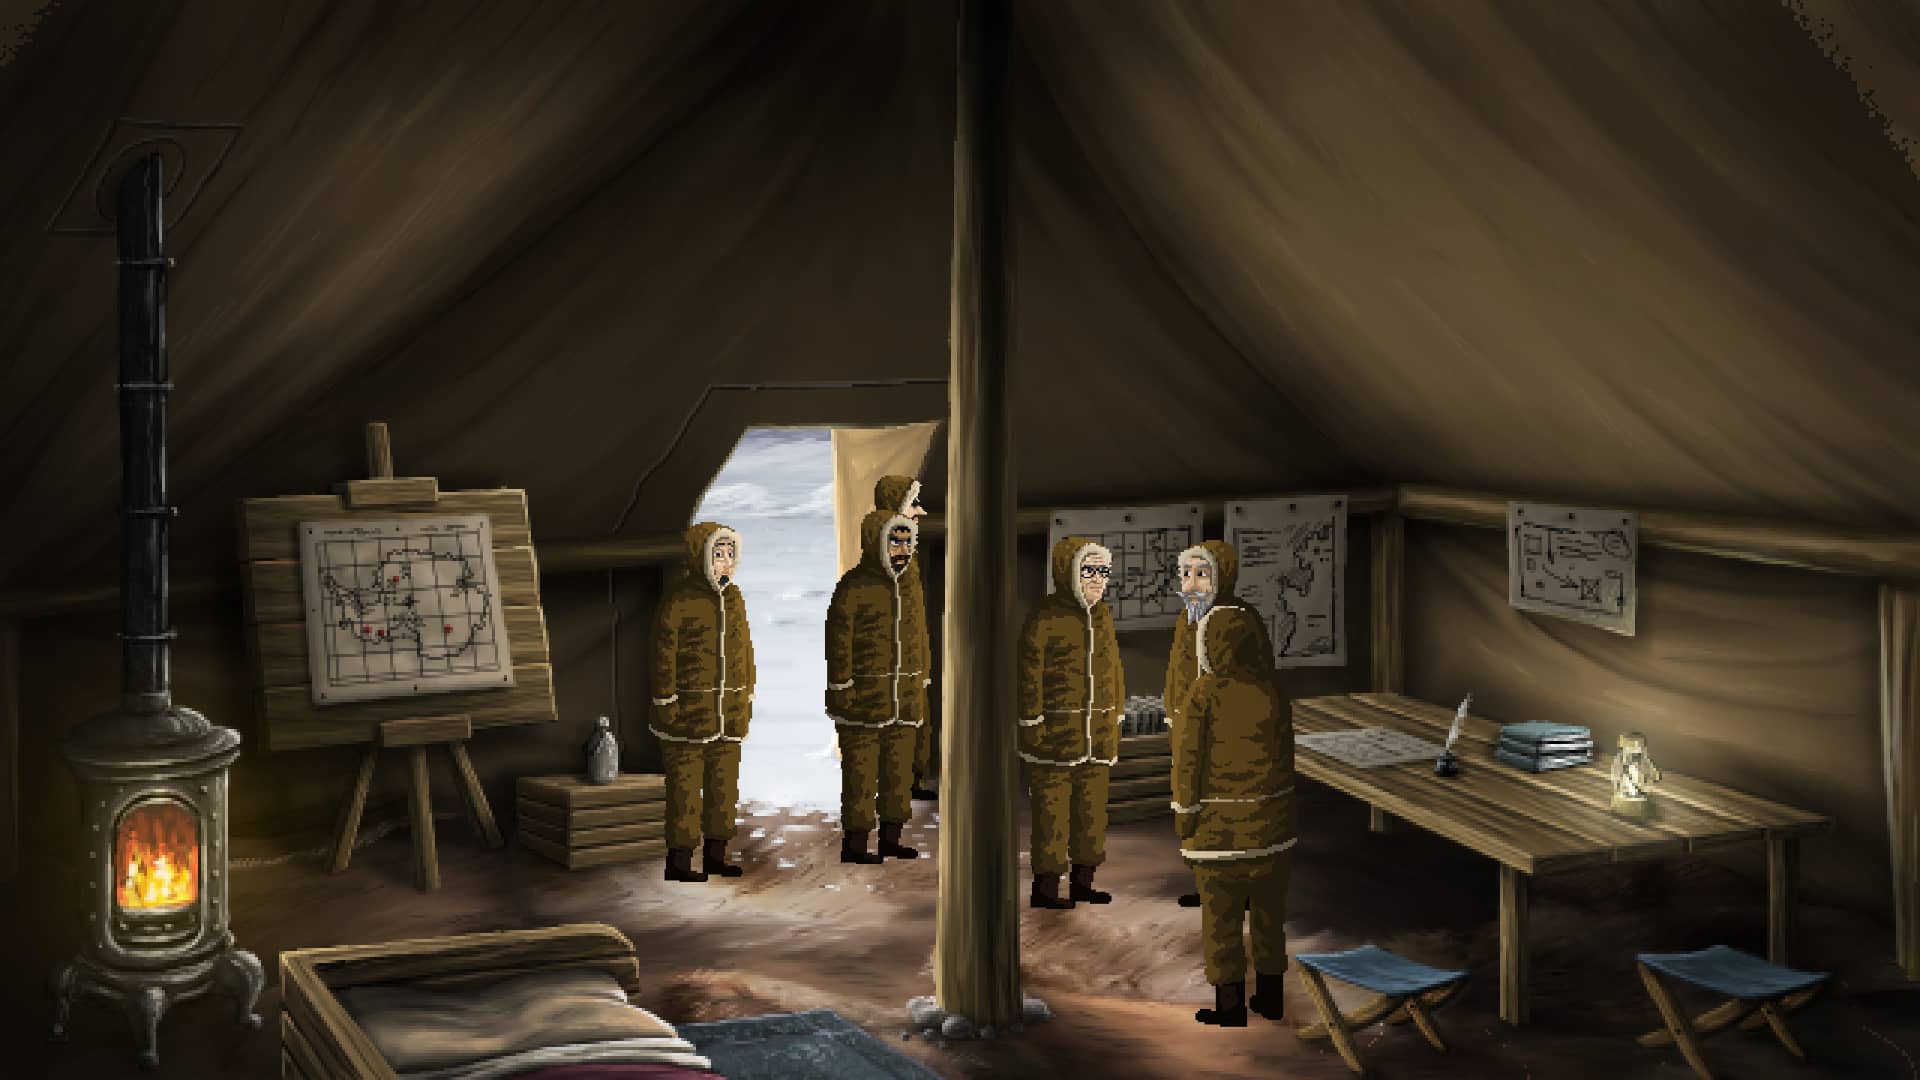
As Lone, go back into the infirmary and take the cloth on the table. Inspect the jar on the shelf and take the laxative. Go into Professor Lake’s tent to the left and exhaust the dialogue. Leave and head right behind the infirmary. Go into the Crew Quarters and speak to Johnson, checking the stove, then the second tent to talk to Baron, ensuring you inspect the boots and take the shoe polish.
Jeitaro
Exit, then speak to the expedition member by the fire, Monroe. Speak to Larsen and Paris outside the mess tent. Enter the mess tent. Take the pot from the shelf and the cooking oil. Chat to Atwood and Dyer. Leave and try to go into the storage tent. Head back to Lake for the papers. Go back to Atwood and Dyer in the mess tent for the documents. You can try giving Paris the laxative; otherwise, try the flask, then quiz him.
Back to Lake (if only there were a run command). Explore the questions, so you discuss the victims’ personal belongings and then head to Baron for questioning. After asking about the quarters, inspect the bottom bunk bed to get the key. Use the laxatives in the flask and give to Paris. Enter the storage tent. Use the key on the immediate trunk on your right. Try the far left trunk, which says Johnson on it.
Tell Monroe you suspect Johnson. Use the cooking oil and shoe polish in the container and heat it in Baron’s tent on the stove. Pour the contents onto the drill, then tell Johnson. Inspect the stove, then turn it off. Finally, use the cloth on the stove to retrieve Johnson’s key. Head to the storage and open the trunk on the far left.
On Ice
After all the cutscenes, speak to Akeley until two earthquakes pass to reveal another scene and narrative piece. Check on the middle body to get the key. Go up to the exit.
Check out all the pictograms as you make your way to the end of the tunnel. Use the key in the door lock, turn it then remove it. After the sequence, press the far right button 3 times; when on the ground, press the far left once, middle once, the left once more.
Out Of Your Comfort Zone
Next, click on Blanko, then Akeley. Exit and head South West to the bottom right of the map, enter the building and pick up the stone. Visit all available buildings and note the positions of the symbols (use your mutated arm on them). Ignore the room with the panel, but come back here in a mo.
Return to the cocoons and use the stone on Akeley. After the scene, head South-East and enter the building that features a panel. Match these to resemble the symbols in the other room [no screenshot here as the puzzle activated before I could capture it].
- The top should have the point facing around 1 o’clock
- The bottom right dial should look like 8 o’clock
- If you keep spinning the bottom left, the panel should open.
Follow the corridor and head up the exit.
In the prison, use your mutated arm on the guard. After talking to Falco, exit and head East [Head West – thank you to Ozzy for correcting that 🙂 ] to the Grandiose Structure. When stopped, say you’re trying to reach the others. Then, watch the end sequence, roll credits, then get grumpy that you didn’t get all the achievements from this walkthrough.
Sorry, this is the third attempt at creating a walkthrough. I’ve covered as much as I can for now and will endeavour to update with all achievements if feasible.
I hope the effort has helped you if you were stuck =D


