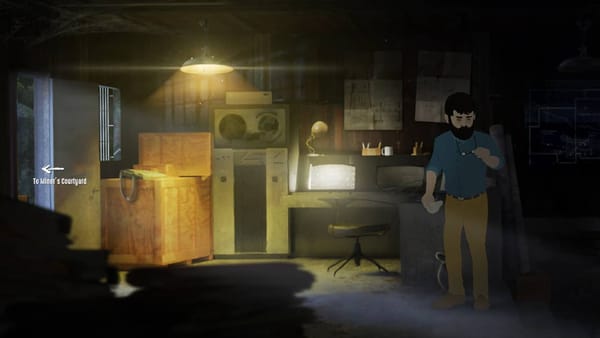
It’s possible to get 100% completion in your first Fort Solis walkthrough, but without having anyone to compare to, it’s taken me four attempts, specifically related to the achievement Skeleton Crew, and I still don’t have it despite unlocking everything.
At the time of this Fort Solis guide, an update prompted another playthrough so that I could get that platinum. Don’t get me wrong, I really enjoyed this game, but not as much having to do the same thing repeatedly without being able to skip anything.
You can barely sprint, are unable to skip dialogue, and there are no manual saves. Again, you can complete this in one playthrough but be warned that if you miss something specific, you’ll have to restart – more so if it’s that bloody Skeleton Crew achievement.
This Fort Solis guide focuses more on a basic walkthrough and a summary of the achievements list. It’s easy not to miss the bulk of trophies, but locating all items takes time – especially if you’re writing a walkthrough from scratch [I’ve since bailed on all the items unless people ask]. By the way, QTEs seldom affect trophies or progress other than the end fight scene. Good luck.
Fort Solis Walkthrough
Prologue
Follow the tutorial, enter the vehicle, and head to Fort Solis. Head to the lift immediately before you, then go up the stairs to try the door. Return to the lift and follow the QTE prompts.
Chapter 1
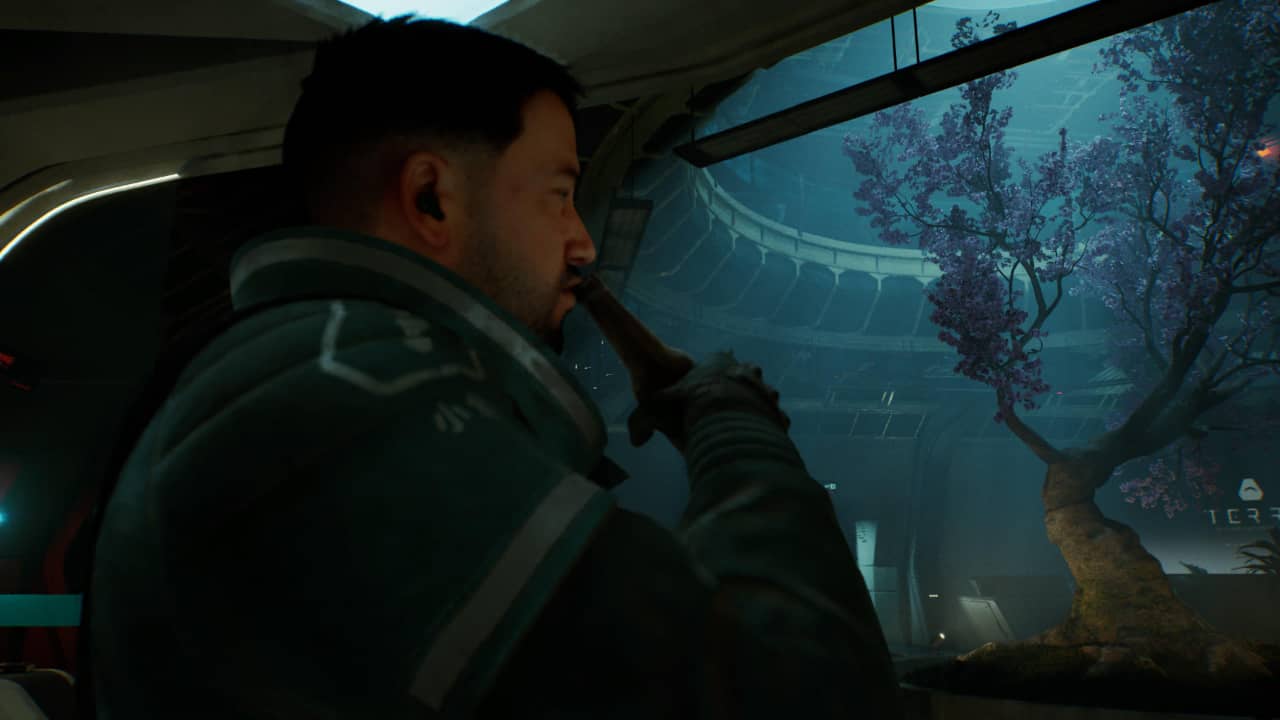
Walk forward towards the lit building called the atrium, follow the QTE prompts. Immediately go upstairs and collect the i5 unit. Back downstairs, walk past the tree to download the schematics. Directly behind you is a vending machine. Interact with it, and you’ll get the Drinking on the Job achievement when you drink from the bottle.
Into the conference room, use the i5 unit to unlock the door, then use the terminal in room 2. The passcode is 8007, found on the back of a photo in the next room. Tab across to surveillance and unlock the door. Return to the lobby, go to the stairwell, and then downstairs to the crew quarters.
Walk into the gym and interact with the equipment for the Boxing Clever achievement. Use the pool table for the Boston Heyday achievement in the unlocked room. Go through the next corridor, follow it to the second set of crew rooms and look for a half-open door. Take the keycard. In the next crew area is a door marked ‘L1’. Go inside and take the i5 battery. Now, return to the stairwell and go down to the medical bay.
Walk through area B2 and on the second left, interact with the terminal and unlock the med bay door via surveillance. Return to the medical bay area and go into surgery. Interact with the body and take the keycard. Leave the room, then after the cutscene, push through the crawlspace and up the stairs to the atrium to get your helmet.
Chapter 2
Back to the stairwell, down the stairs and through the drill bay. Go through the middle door, take the i5 battery from the dryer, into the door on the right and take the level 3 keycard. The poster here (#5) is missable – it’s in the space where the cart comes out from. Same for the Titan banner (#1) on the right. Interact with the train, take the battery out of the cart, insert it into the train and then rinse and repeat the opening sequence for the shutter doors.
Outside, climb the ladder. Make sure you walk towards the highlighted storage in front and on the right. I missed this on the first playthrough as I decided to explore and could not unlock the Skeleton Crew achievement. Multiple times. Now go to the maintenance unit. Use your map (it’s rubbish), and it’s northeast of the atrium. Get the i5 battery from the locker and head towards the stairwell until you get to inspect the damaged terminal.
Chapter 3
Walk back to Fort Solis. Try opening the door up the stairs, then go to the vehicle for the tool and try again. After the cutscene, proceed to the maintenance unit again until you reach the surveillance terminal showing what happened to Jack. Outside of the building, locate the comms hub to the west. It’s blocked, but a winch to the south can be connected to free up the debris.
Inside, interact with the server, then head down the stairwell. After the cutscene, look at the terminal and make note of the numbers 25, 28, 23, 35 and 39. You need to locate these servers and activate them. I’m unsure if they are in order, but I did so anyway, pressing the power switch when the orange diamond lights up. Back to the terminal to get the level 4 keycard, return to the atrium and enter the canteen via crew quarters. Once you enter the canteen, take the level 5 keycard and unlock the greenhouse via the stairwell.
Chapter 4
Follow the corridor, and aside from exploring and collecting everything, head up the stairs in the greenhouse and go to the office. Take the i5 battery, return the stairwell and head up, using the battery on the door. Proceed through as far as you can until you can go right. Find the elevator and go up to level 3. Walk through to the other side and then go to the ground level. Leave the lift, and this will trigger the final sequence.
There are two options. You can get the ‘better’ ending and complete the QTE during the Wyatt fight when you take over as Jack. Alternatively, you can sit still and unlock the bad ending and subsequent achievement. On the flip side, while you can’t manually save, after finishing the game, you can return to this end sequence and unlock the other ending with little effort.
And that concludes the Fort Solis walkthrough… and now for some lists.
Fort Solis 100% Achievements
- Welcome to Fort Solis – climb the ridge in the prologue
- Relic – open the blast door in the prologue
- Drinking on the Job – use the vending machine in the atrium lobby and drink all the beer
- Boxing Clever – hit the bag in the gym
- Boston Heydey – interact with the pool table in the rec room
- Outpatient – escape the medical bay after lockdown
- Once More Into the Breach – get into the tunnel near the drill bay
- Lights Out – find the generator in the maintenance room
- The Safety of Disbelief – start Chapter 3
- Congratulations, You’re an Engineer – pick up Nick’s multitool using Jess
- Skeleton Crew – locate all crew (should trigger when location Nick in Chapter 2 via the storage crate, and Adam in Chapter 5 via the canteen)
- Mi Casa Su Casa – open Wyatt’s room with the level 5 keycard
- A Better Tomorrow – gain access to the greenhouse
- Everything is Dust – get Compound 26 from Helen’s draw in the greenhouse using code 0721
- Cartographer – visit all locations (including security hub)
- Dust Dancing – walk 3000 steps (head outside and walk up and down until you get the notification)
- Darkest Before the Dawn – complete the game
- Causality – don’t do anything during the fight with Wyatt for the ‘bad’ ending (i.e. don’t do the QTE bits)
- Tragedy Documented – Watch all the video logs
- Terra Tour Guide – collect all audio, posters, banners, and read all emails!
- Fort Solis – unlock all trophies
…There’s Still More
I realised that this Fort Solis walkthrough was taking too long to complete, so I have only listed the posters for now. If you want the audio logs, videos and emails, I’ll upload them at another time as, quite frankly, I’m tired and need a break.
Posters, Banners and Flags
Posters
- Next to the terminal in the maintenance unit
- Located in the security hub on the northeast of the map
- In the isolation room with an audio log
- Asim’s office
- Between the carts that fly out in the drill bay
- In the drill bay toilet
- The treatment room in the medical bay
- Located in the rec room in the atrium
- Dawson’s room in the crew quarters
- In the conference room in the atrium
- Near the bees at the greenhouse entrance
- Server room corridor behind boxes
- On the wall in the canteen
- At the top of the stairs in the atrium lobby
- Asim’s room in the crew quarters
Banners
- It is on the wall immediately to the right after the cart crashes in the drill bay
- Located on the second floor of the greenhouse
- It can be found in the greenhouse
Flags
- Immediately after you leave the tunnel and found outside
- Outside, between the hangar and the security hub
- Near the crew quarters, folded up inside a cupboard.


