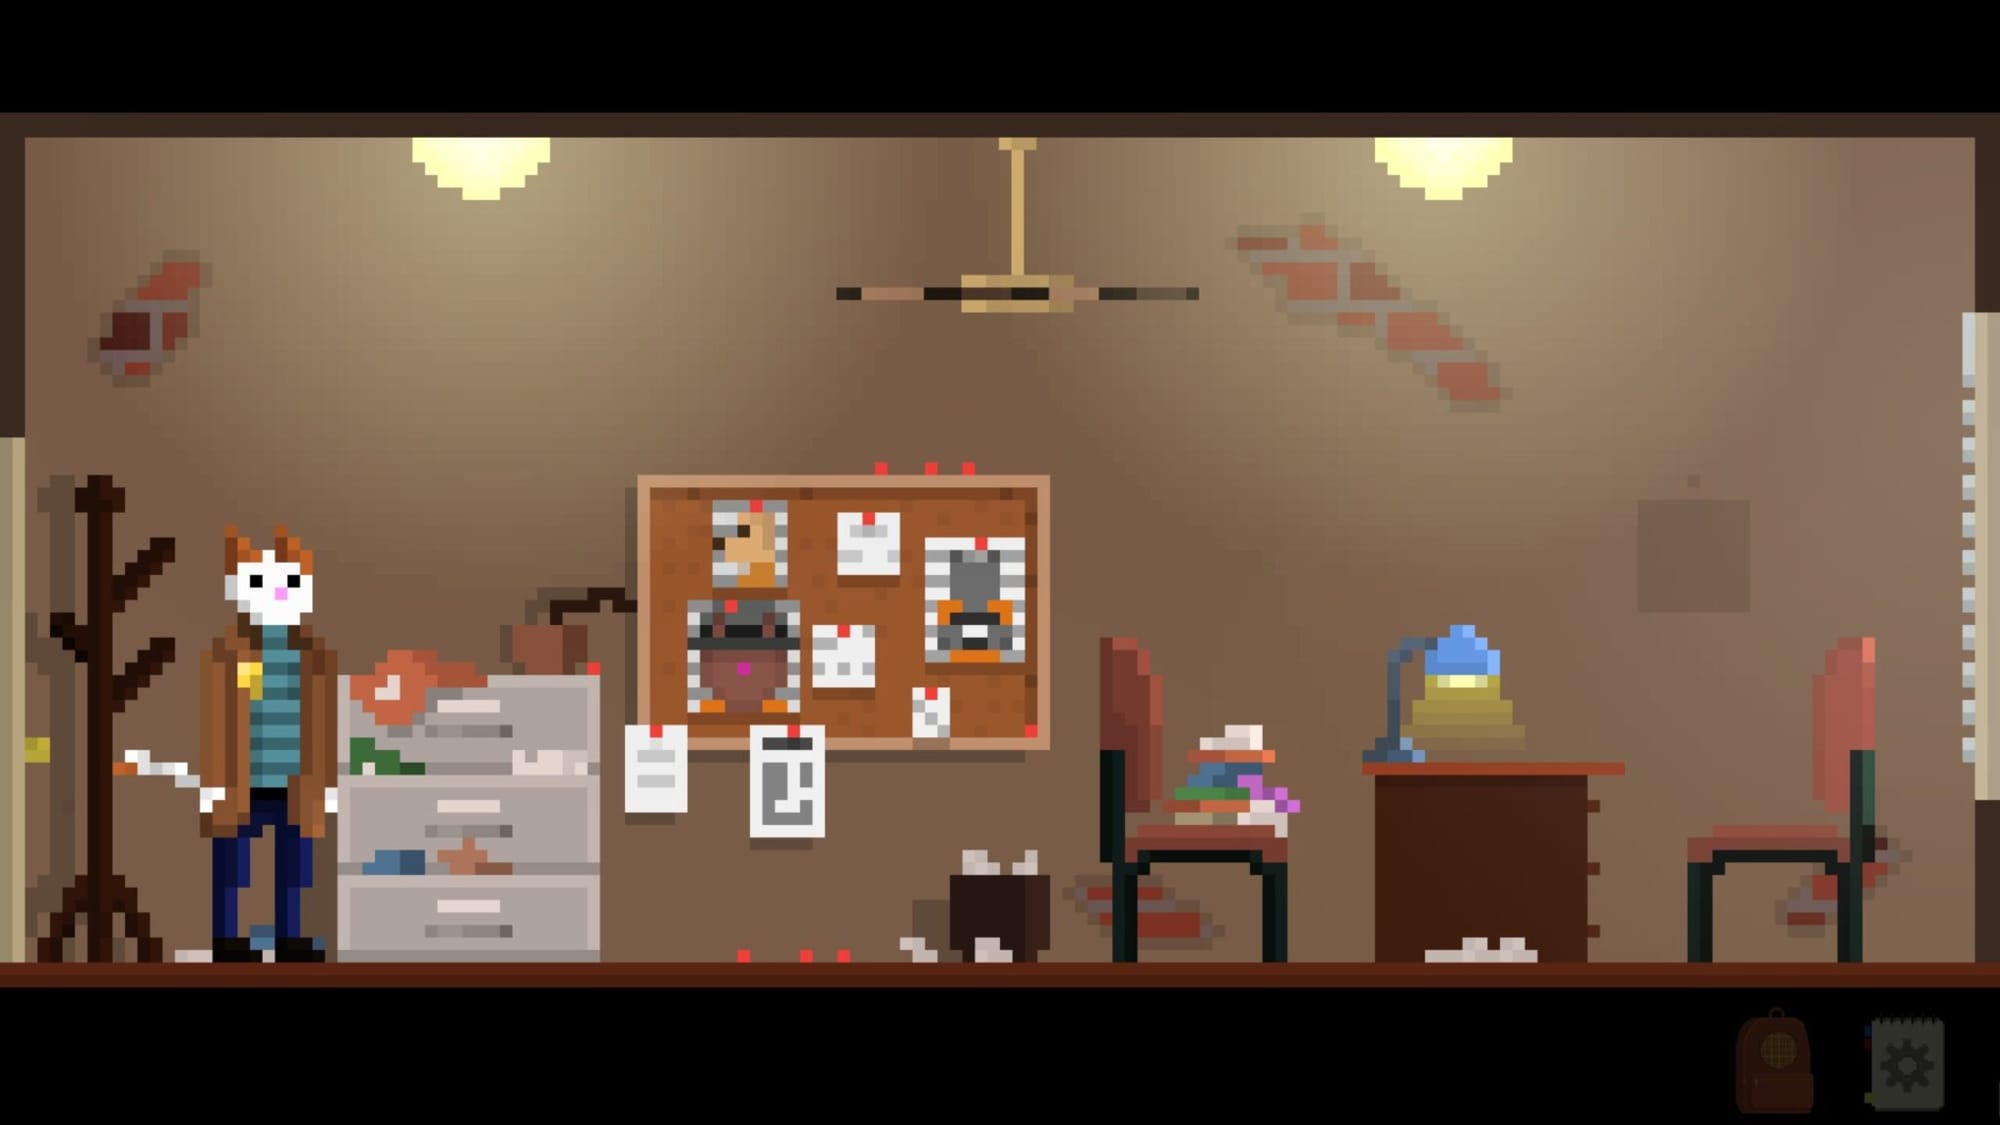
Here’s an Inspector Waffles walkthrough, a point and click adventure available on PC via Steam by the talented Goloso Games. Naturally, you should at least try playing on your own first, but if you do get stuck and don’t want to rely on Waffles’ mum for hints, here’s a complete walkthrough.
At the end of the walkthrough is a summary of locations for the collectable cards required for the secret ending. You don’t need to collect these to finish Inspector Waffles, but if you’re going for 100% completion, it’s required.
Do note that after getting the secret ending, I got 100% achievements, though this Inspector Waffles walkthrough doesn’t aim to get all of them; it’s not hard to do if you refer back to them while playing. This guide will help you finish it and get those cards. Gotta catch ’em all, right?
Inspector Waffles Walkthrough
Chapter 1: The Dead And Alive Cat
Click on Fluffy’s body to get photo.
Look in the trash for the broken screwdriver.
Go inside, head upstairs to the ???? room
Use the skateboard.
Click on the painting and take the blue book.
Next, the trophy for a clue.
The picture on the wardrobe for another clue.

Leave and enter the ???? door to the far left.
Select the perfume for a clue.
Then the tile on the wall to get the red book.
Outside, use the screwdriver on the door to the right.
Add the skateboard wheel and enter.
Put the blue book in the missing space of blue books.
Do the same for the red book and enter the doorway.
Take the white hair on the plant to the left of the door.
Look at the noticeboard.
Then the drawers to get the insult letter.
Go outside and speak with Patches.
Mention the secret office.
Show him the shopping list.
Look at the chimney.
Talk to Millie.
Show her the love letter.
Mention the perfume, then the chimney smoke.
Show her the white hair.
Then show the insult letter.
Chapter 2: More Than One Way To Skin A Cat
Click on the drawers to get the flask.
Go outside and into Patches’ office.
Leave then go to the far left and speak with Pixel.
Give him the photo.
Then the hair.
Finally, the insult letter.
Leave, go downstairs and speak to Moka through the door.
Offer the croissant.
Head left, and after speaking with Morty, go and take a coffee from the vending machine.
Use the love letter in the coffee.
Walk to the left and head out with Spotty.
Speak with Frank, the hotdog vendor.
Going into the building and speak with the Duke, the janitor.
Inform him that Erwin is a black cat.
After speaking, look at the umbrella for a clue, then head upstairs.
Speak with Bella and say Erwin’s missing, then he has a limp.
Then show the stained love letter to dry it.
Head right and take the pickle.
Pick up the Woolball Collectible Card Album, then show it to Duke downstairs.
Use the keys with the coffee, then on Erwin’s mailbox.
Inspect the box in your inventory to get your first collectable card.
Upstairs and use the keys on Erwin’s apartment.
Inside, take the almonds.
Put the almonds in the croissant.
Leave the building and go inside the antique shop.
Speak to Margaret and give her the fake letter.
Give her the flask of milk, then head outside to speak to Frank.
Mention about the umbrella.
Ask about the cinnamon, then give him the pickle.
Back to Margaret and give her the cinnamon.
Back to the police station.

Speak to Peanut.
Talk to Moka and hand over the almond croissant and cinnamon coffee.
Head up to Patches office and use the key.
Take a croissant from the box and the coupon on the noticeboard (required for the collector’s cards).
Give the croissant to peanut, then head to Erwin’s.
Go into the apartment with Spotty and ask what he smells.
Click on the hiding place to the right of the door to reveal a clue with catnip.
Compare both grocery lists.
Go to the Maple Market.
Go inside and give the coupon over for a collectable card.
Hand over the grocery lists.
Chapter 3: Into The Lion’s Den
Head right twice (past the ???? door).
There’s a common card above the sewer grills – take this.
Pick up the magnet.
Go back to the door in the previous scene and use the police key on it.
Use the magnet on the door hole at the bottom to get the key.
Unlock it and go inside, down the ladder and collect the costume and head left.
After the speech, go right towards the toilets.
Speak to Meatballs.
Pick up the lighter and hand it over.
Exit the room.
When you reach outside, take the stick to the left of the cave and combine it with the magnet.
Use this on the magpie to get the coin.
Exit right.
Use the coin on the phone box, then head to Maple Market.
At the police station, head upstairs to Patches office.
Mention the secret cult.
Show him the warrant.
Then the grocery lists.
Meatballs, then Erwin is kidnapped.
Speak to the real Erwin.
Go through the first three clues in the list, the abandoned grocery bag, the catnip, the insult letter.
Inside the bar, speak to Bobby about the cards and give him the common card.
Exit.
Head left towards the street.
Inspect the body.
Return to Barkbuster, search the bim and pick up the piece of cloth.
Use the cloth on the dead cat.
Chapter 4: Curiosity Killed The Cat
Talk to Pixel and show him the access card.
Go to the next screen (it’s The Chicken Police). Give them gumdrops, then popcorn.
With the new dialogue, ask about Woolball.
Go back to Pixel to say about dogs not caring about Woolball.
Look at the sewer pipe, then speak to Pixel to get a screwdriver.
Use the screwdriver on the sewer pipe, then speak to Lumo to ask for Rusty’s help.
Give him Marmalade’s name.
Once in receipt of the Polaroid, use it on the campaign poster.

As Waffles head outside of his office and keep going left into Pixel’s office.
Click on the DNA machine.
Leave the room, and go into Pancake’s office and inspect the clues, notably the Snowball article in the bottom right.
Ask Spotty to smell the room.
Head to the prison.
Show Snowball’s DNA to Lenny.
Pick up the coin before going inside and use the cloth to clean it.
Speak to Snowball and give him DNA, follow the conversation and mention Meatballs, then about more than one way to skin a cat.
As Patches, speak with Maple.
Show him the photo, then give him the lollipop.
As Waffles, go inside the building.
Use the clean coin in the vending machine
Talk to Smokey and hand him the insult letter.
Take the plastic fish.
Head through to the break room.
Speak to Pancakes and give him Snowball’s DNA.
Follow the dialogue options, selecting skin a cat.
Mention the sweet smell in the office.
Head to Fluffy’s house, speak to the dogs to note you need a warrant.
Then to the police station to ask for the warrant from Moka (Millie’s house is under surveillance), then return to Fluffy’s.
Hand over the warrant.
Take the Morse code book, look at the mail and chimney for clues.
The dictator pig clue will appear.
Go to Erwin’s and then inside the antique shop.
Speak with Lucius and use the plastic fish.
Select know-it-all, then mention the dictator pig to get a Post-it note.
Back to Edwin’s apartment, and there’s a small key outside. Take it and use it on someone else’s mailbox next to Duke.
Head back to Millie’s house and use the post-it note on the classical books.
To the police station.
In Pancake’s office, click on the pink note for the cotton candy address.
Into Pixel’s room and use the morse code book on the whiteboard.
2102 – input on the lock under the DNA machine and retrieve another card.
Off to the cotton candy shop.
The key is in the bottom left of the shop window, under the ripped posters.
Use the kibble from the vending machine on the card in the pet shop window for a card.
Inside, look at the bell, then the table.
Speak to Pavlov.
Mention the bell and his strength.
Go back a scene and speak to Spotty.
Under the plant is a trapdoor. Go down.
Use the photo on the poster to compare.
Inspect the bed on the left.
Take the blueprint.
Back to Pavlov and mention that someone lives in the shop.
Show him the blueprint.
Mention that the Polaroid was a fake after the flash of light.

At Maple’s tower, speak to Patches.
Say that Pavlov was incredibly strong.
Show Snowball’s DNA.
Say the Polaroids are fake.
Give him the blueprint.
Chapter 5: Like Cats and Dogs
After meeting Meatballs, call your mum, so she calls Meatball’s.
Use your flask on the glass.
Go inside.
Click on the mysterious door.
Look at electrical sparks.
Attempt to go upstairs.
Head outside and use the scanner on the laser.
Use the screwdriver on the scanner to get cables.
Finally, the magnet on the key.
Back downstairs and use the key on the medicine cabinet.
Take the syringes and bandages.
In the maintenance room, use the cables on the sparks.
Take the broken broom.
Combine the bandages, screwdriver and broom.
Use this on the ceiling about the sparks to get the last card.
Go back to the laser and use the same tool on the hatch.
Combine the syringe with the flask and use it on the opened hatch.
Speak with Snowball. Your first response is Mallow.
Someone was living at the shop.
More than one way to skin a cat.
Pavlov is incredibly strong.
Secret cult.
Fake Polaroid.
Show him DNA.
A sweet smell in the office.
Watch the cutscene et al., then head outside to find Spotty.
If you followed the guide and found all seven cards, you’ll get a device to use at Fluffy’s. Insert the wooden key into the statue. Go under the stairs for the secret ending.
Inspector Waffles Walkthrough: A Quick Summary Of The Card Locations
The instructions to each are in the guide above. Note that you may only get one chance at doing these, so save frequently and perhaps do in this order.

I held on to the first one too long (the package), and it disappeared after meeting Erwin, so open it once you get it. Likewise, you only get one chance to visit the Maple Market and the bar. Make sure you have the coupon for the first, and pick up the common card for the second (located in the sewer immediately after the Maple Market).
- Inspect Erwin’s package (hee hee).
- Give the coupon to George at Maple Market.
- Do a card swap with Bobby at the bar.
- Pixel’s drawers (hee hee).
- Millie’s home in the classical books.
- Someone else’s mailbox in Erwin’s building.
- In the pet shop window next to the Cotton Candy shop.
- Attached to the ceiling in the maintenance room.


