


Is it time for a Murder on Space Station 52 walkthrough yet? Of course! If you're anything like me and struggled quite a few times with this excellent point and click adventure by Made From Strings, having a little help with some of the puzzles must be welcome.
Like all my guides, the same parental advisory sticker applies: I recommend you at least try to solve the problems yourself - especially in this game, as I found it incredibly satisfying to work out the answers, though a handful of times, a walkthrough would have prevented lots of head scratching.
One last thing: interact with everything you see in Murder on Space Station 52. Besides being an essential part of the experience, Locke gets Moxie and Doodads to spend on his apartment. You'll need all these room items if you're going for 100%. That is all, let's begin.
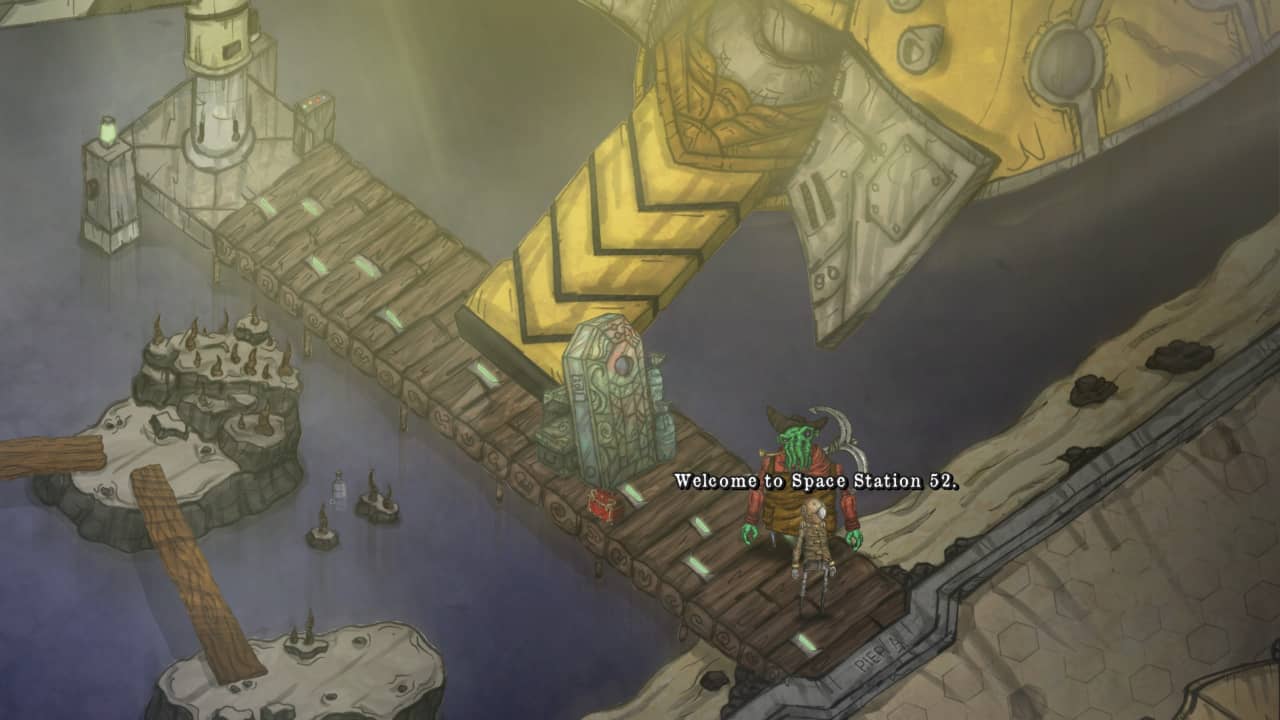
Murder on Space Station 52: Chapter 1 Walkthrough
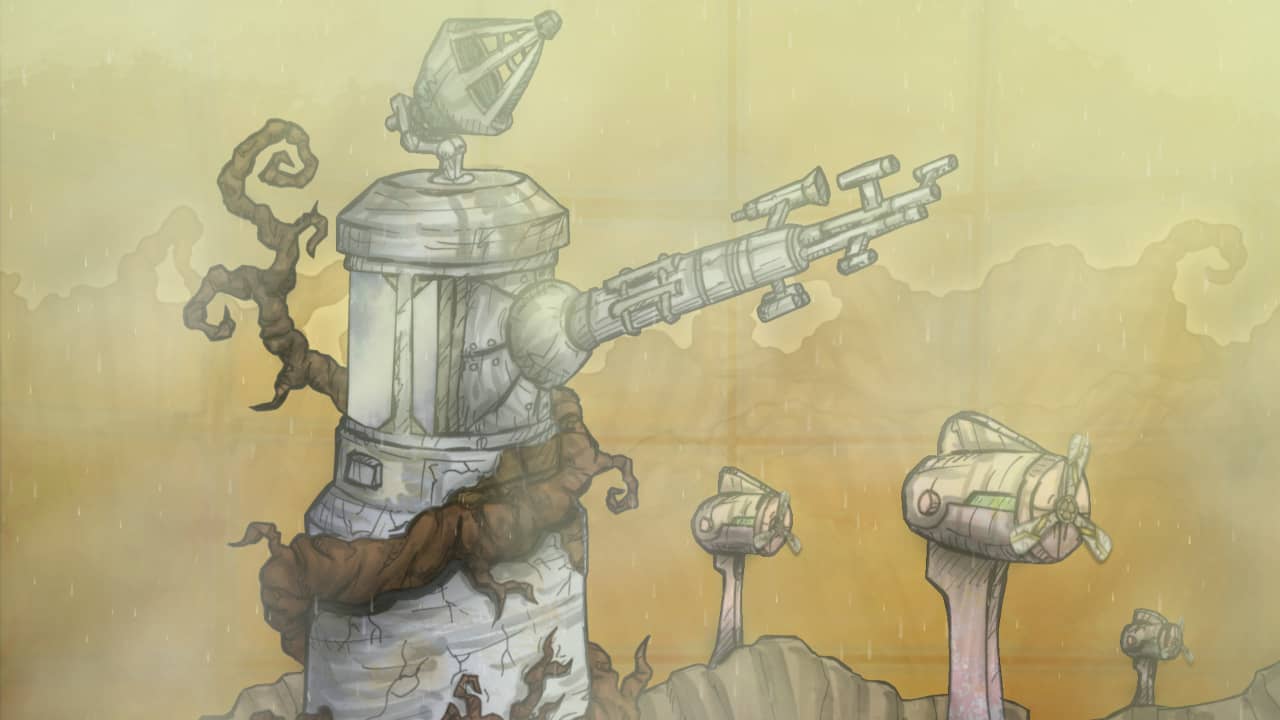
Go to the docks and speak with both characters, then go back to the first screen to get your toolbox, use the broken smelter, and then talk to the Sheriff. Pick up the solar panel and use it in the waterfall. Walk right, take the cable and use it on the drill arm. Click on the bot for a battery and attach the solar panel. Head back to the waterfall and use the battery on the sunrays to the far left. Put the charged batteries in the bot, turn off everything on the toggles except the R-arm and hit the bottom right switch. Return to the bot and press the button above to unravel the cable, then take it and attach it to the barrel.
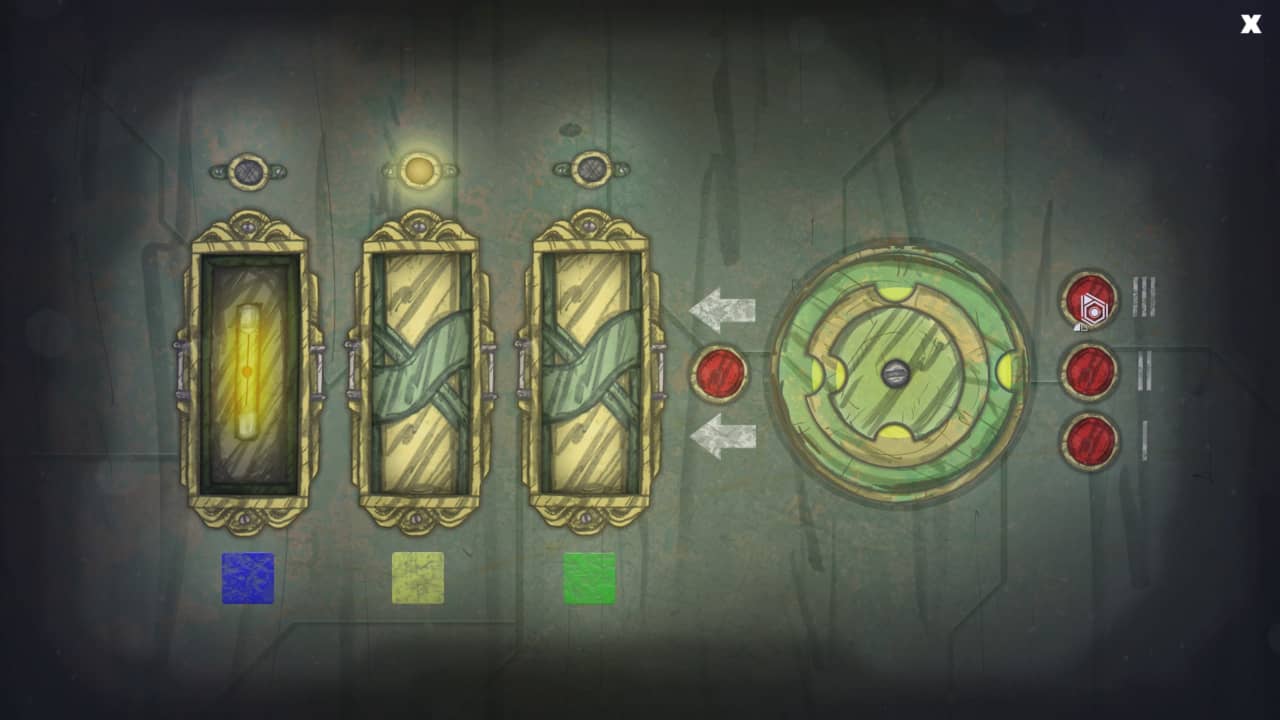
On the bot controls, switch on the l-arm and move it to the left, then move it to the left. Use the toolbox on the panel and, starting with the top right dial, ensure that the symbols on the outside are opposite to the inside - i.e. a square paired with a triangle. Repeat for all four dials.
Murder on Space Station 52: Chapter 2 Walkthrough
Take the scalpel from the bed, head into the next room, and collect the bone saw, acid, and heart. Next, go into the lobby and get the fuses. Take the lunchbox and use the saw on the exposed spring. Combine the rubber glove with the scalpel and use it in the outlet to get the sleeping pills. Go back to the morgue, use the spring with the acid, and put the sleeping pills inside. Look at the body and the evidence, take the rat, then return to the next room, using the spring on the medicine cabinet. Put the fuses in the Doctor, then line up the puzzle so that dials only show blue. Press the red button, then yellow, the top is green, followed by yellow, then blue. Replace the broken fuse at this point by clicking on it.
Put the heart on the bed, then stand on the scanner and use the rat with it. Repeat it and use the heart on the scanner to unlock an achievement about the Doctor's jokes. Combine the potato with the heart, then the metal shards, and repeat the process. Give the Doctor's note to the Sheriff and leave.
Murder on Space Station 52: Chapter 3 Walkthrough
Get the battery from the junk box, then go into the next room to meet the Reporter. Take the access card off the counter, then fill the vase with water from the planer. Pour into the top of the tank, fill it up, and pour it into the corner hole to get a coin. Walk off the screen to the right and take the box cutter. Take the battery and leave. Return to the lobby, use the box cutter on the creature, and use the speaker you receive on the beast in the room with the fossil. Dip the access card in the urine(!) and take the fossil tail. Use the access card on the electrical closet in the room with the Reporter. Take the wire and the box (BLS chip), then interact with the breaker. Turn the pipes to create an uninterrupted line of travel (do them in order - a Roman numeral will be under each symbol). Take the nail before leaving the room.
Use the fossil tail on the sculpture, then interact with the junction box as before. The next box is behind the fossil with the missing tail. Return to the lobby, combine the nail, wire, and battery, and use them on the floating display. Use the anti-gravity emitter on the last junction box near the ceiling with the Reporter. Power up the console, then start the next chapter.
Murder on Space Station 52: Chapter 4 Walkthrough
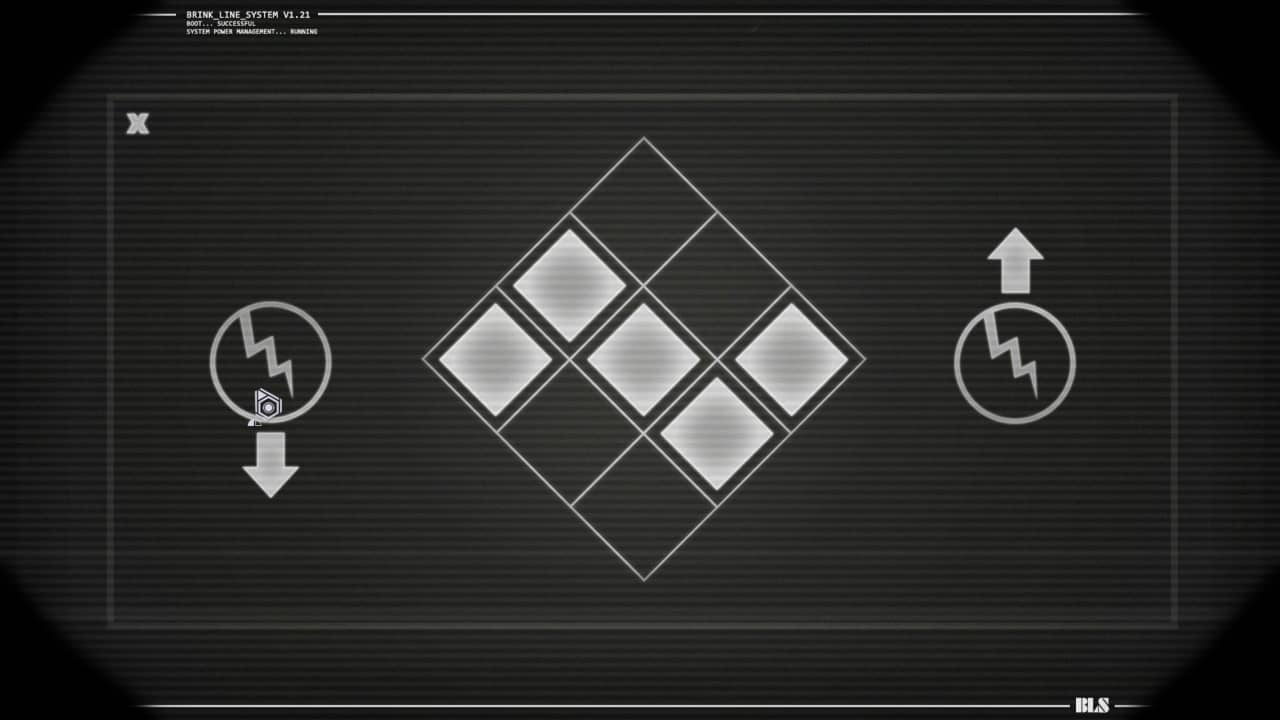
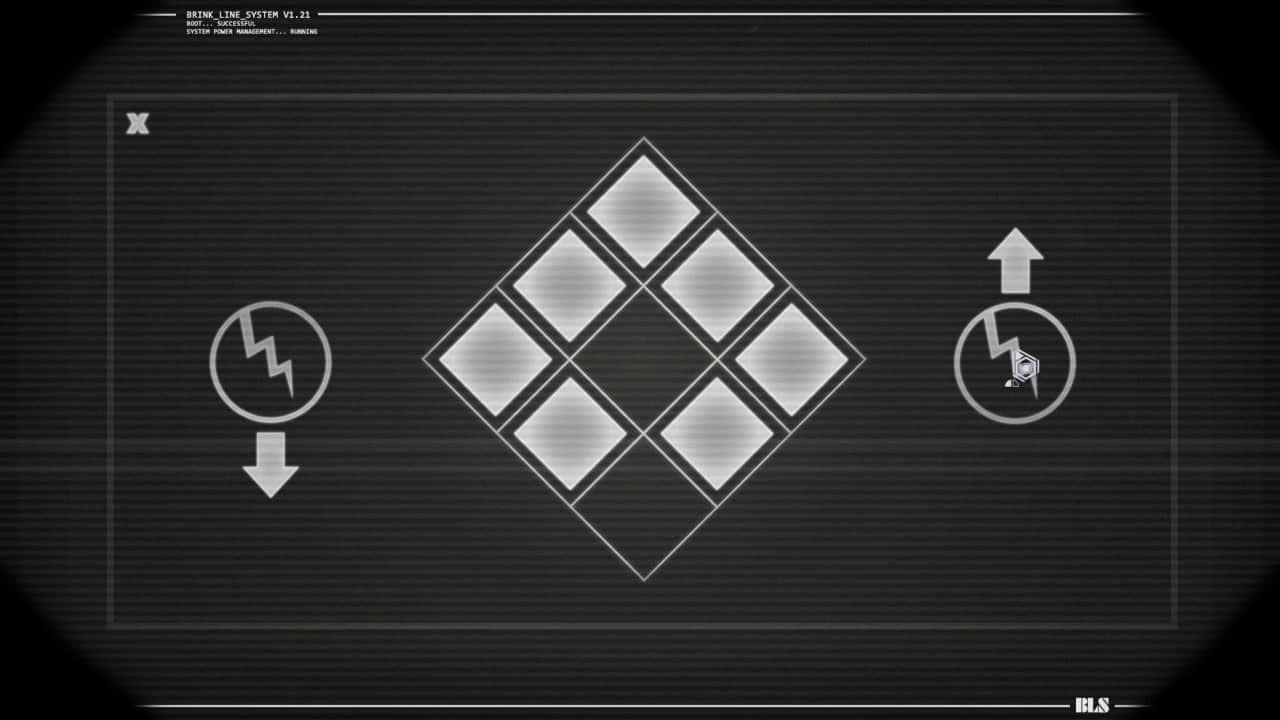
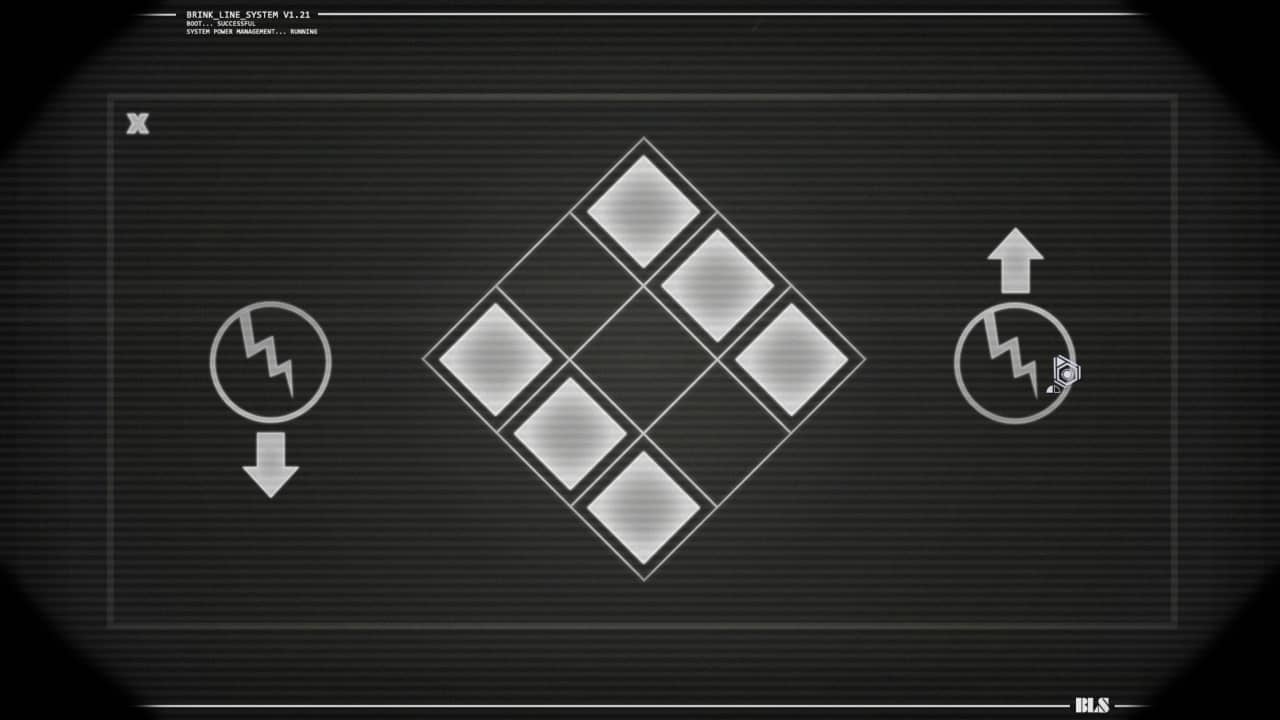
Walk through the darkness and interact with the panel. This is like a sudoku puzzle where each row has to have the same number, i.e. 3 x 3 needs all three lights lit. Use the image below as a guide (also ensure you turn the dial in the middle to the area you're working in - start with C, A, then D).
Take the strange device, pot, and rags. Walk to the next area and use the device on the door. Press in this order: C, A, B, D, B, E. Inside, note the diamond panel on the TV and the smashed panel on the floor and pick up the cup on the dock. Back to the MCP (talk to it - can't remember the name to activate it, but select the obvious!), then use these to turn off the electricity and turn on the panel. Enter the code and press the left button to turn it off and right to turn it on.
Back in the room with the broken door, dip the rags in the water and fill the pot with water. In the next room, place the wet rags on the first vent on the left, then the third. Go to the valves next to MCP and make sure that only the hot valve is on (the code is on the pipe at the top); put in the pot of water, then put the bones inside. Now, use the mug on the liquid and the tail as a brush. Back inside the room with the broken door, brush the tail on the cracked glass and leave.
Murder on Space Station 52: Chapter 5 Walkthrough
Take the pliers, the pick below the manhole, the battery from the cleaner bot and the fishing reel in the bin. Use the pick on the bypass, then the pliers on the pick, and finally, the metal bar on the bypass and leave.
Take the shiny objects (there are two coins) and walk on the elevator. Pick up the sword and use it on the canvas sail, then use the pliers on the panel to get a note. Walk around the room, and the bot will light up the floor, showing hidden buttons. Imagine the centre of the floor is a clock, and four buttons are placed on a clock face. Interact with the shapes accordingly:
- 12 - triangle
- 2 - circle
- 9 - square
- 3 - triangle
Press the button, put the sword in the device, and down the elevator. Keep walking left, take the matchbox, and walk into the bar. Take the coin on the table. Talk to the Patron, then the Barkeep. Go into the room at the top right and activate the console. Enter two codes: yellow 3 bars, blue 2 bars, orange 4 bars and click enter. Then, use yellow 4, blue 2, and orange 1, untangle that bottle on the fishing reel. Take the coin, then use the sail on the ice, followed by the match. Use the pliers on the device to get the lens, then give the pink drink to the Patron for a coin. Now go into the room on the right, use the coins in the jukebox and select the music in numerical order: 1, 2, 4, 3. The tentacle will speed up and drop the mop and stick for you to take.
Return to the fish tank, combine the mop handle with the fishing reel and magnet, then charge with the jellyfish. Now interact with the cleaner bot by the manhole starting point, return to the bar and use the bot on the toilet door. Talk to the bar and keep them on to the next chapter.
Murder on Space Station 52: Chapter 6 Walkthrough
Go into the shop and speak with the Angler. Use the fish pins on the robot to the far right to get a pry bar. Exit the shop and walk off-screen to the pier. Take a lemon from the barrel, go into the supply area, and meet the Deckmaster. Use the pry bar on the box at the front to get the rope and salt shaker, combine the latter with the lemon, and use it on the chest to get rid of the rust. As always, interacting with everything as a label will add some evidence. Take the winch by the open box, leave and walk to the end of the pier next to the crane to get a fuse. Return to the docks and use the fuse in the unit to reveal a plank. Use the rope on the robot inside the shop, followed by the winch, to access the breaker box and take the bot's arm. Click on the hatch and match the images in the dials to those on the bottoms - like this ( l ). Ask the Angler your questions, then leave for the beach.
Collect the bucket of fish. Pick up the metal detector and move it around the sand, clicking each time it beeps and lights up to reveal a key located approximately in the centre of the screen near the bottom. Now, return to the pier and use the key in the crane. Use the bot arm on the bottle in the water. DO NOT LEAVE THE PIER WHILE THROWING THE FISH: throw the fish to the left of the middle plank, then to the top of the plank at the top, cross over to the middle island and look at the Devil's Teeth, placing the fish bucket on top after confirming it's poison, then throw the lot in the spot you threw the first. Look at the boat wreck before getting the motor. If you want the moxie, then collect the motor.
Return to the docks and use the coins on the viewfinder for the crate clue. In the supply area, use the photo with the crate to solve the puzzle by clicking the symbols to replicate the skyline of rocks (the symbols at the bottom must match the symbols at the top of each rock in the photo). You'll get a toy to give to the Dockmaster and some new evidence. Head back to the boat for the next chapter.
Murder on Space Station 52: Chapter 7 Walkthrough
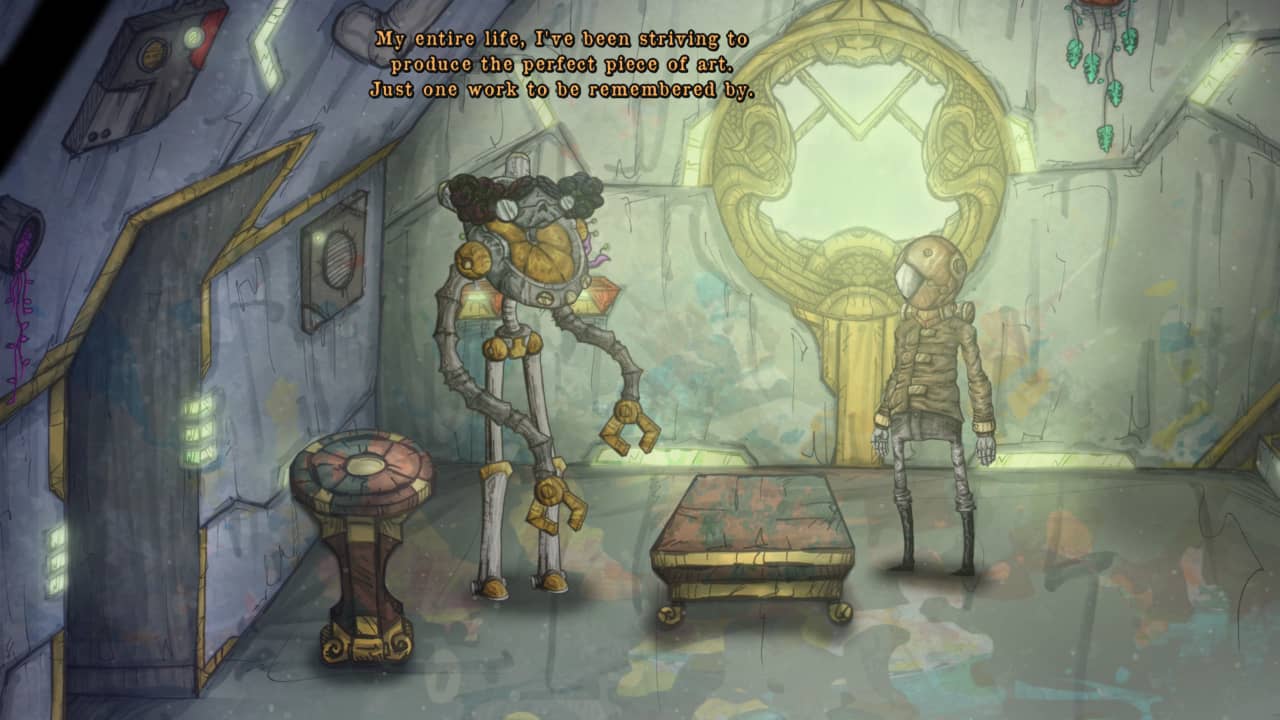
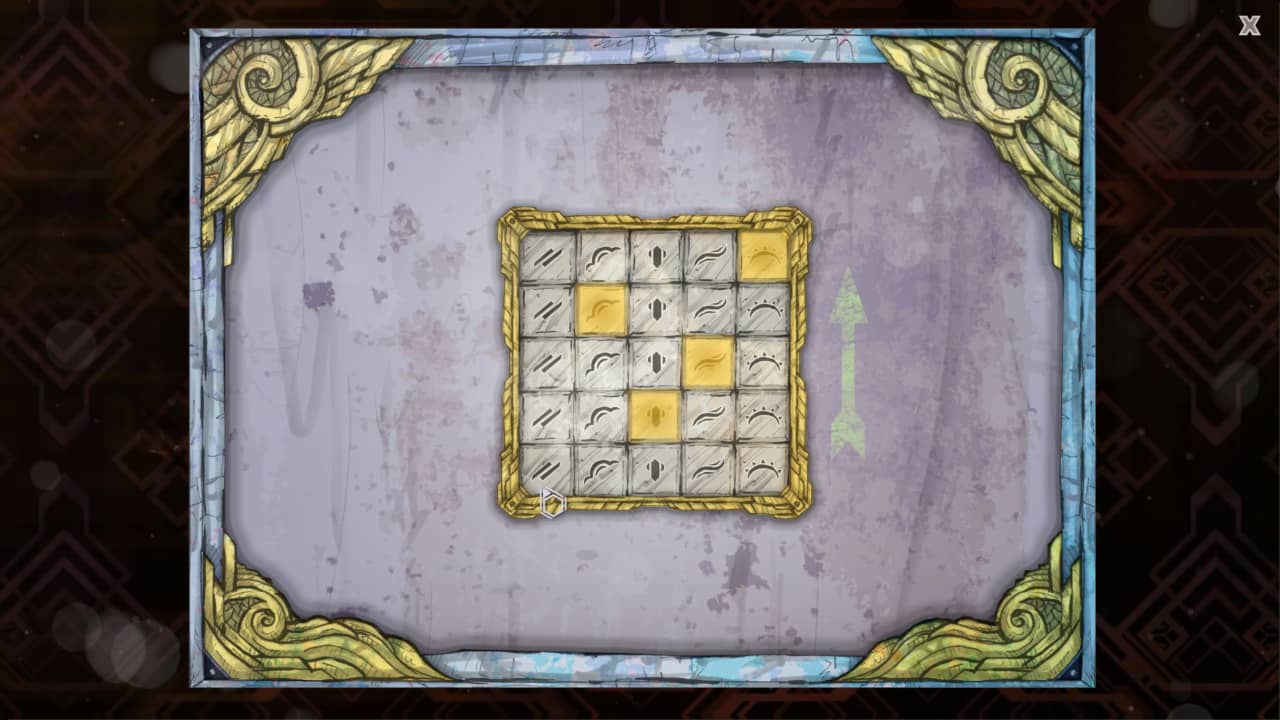
Have a look around, then go inside to meet the Artist. Interact with the flower, then the stereo. Apologies, I never know how to explain how to solve these as quite intuitive; you just need the lights to be green, under the arrow, and the others to be off. Report to the Artist, then up to the attic. Look at the third sculpture for evidence. The significance of the sculptures is their elements. Transfer this to the combination in the room to the left of the Artist and input the code as per the image. Next, you need to build the sculpture (collect it from the shelf, hand it to the Artist each time, and return for more items). T- the oldest being angular base. The next item is the first tool on the far right, the stone and the orange paint replicating the sculpture in the attic.
Murder on Space Station 52: Chapter 8 Walkthrough
Head up the lighthouse and interact with the storage shed. Go inside the lighthouse and take the extinguisher and washers. Go outside and look at the tree, then use the washers on the fruit. Pick it up from behind the shed and use it on the lighthouse's owl. Pick up the screwdriver on the extinguisher, then collect the pill on the vent to the left. Use the chemicals on the atmosphere controller outside, followed by the hose and bolts. Use the screwdriver on the plaque, combine it with the extinguisher and use it on the elevator door. Interact with the fulcrum device, then go inside.
Use the pill on the water and look at the hatch. Pick up the drone and use it on the thicket. From top to bottom, select right, left, right, right, right. Next is left, right, left, left, left, right. Finally, right, left x4, right, right, left. Return to the first floor, use the screwdriver to close the vent, operate the atmosphere controller, return to the second-floor hatch, and head up.
To the far right is a junk pile with a key. Use it on the cabinet and find your next victim. After the cutscene, you can choose your suspect. For the correct suspect, you want to pick the Angler. For an additional trophy, pick anyone but the Angler.
Murder on Space Station 52: Chapter 9 Walkthrough
Walk to the lobby and take the Stanchion on the left, then collect the fire extinguisher at the top and use it twice on the receptionist bot. Go into the Service Access to the right and get the crowbar. In the corridor, use the reception head on the sticky substance, then return to the lobby and use the crowbar on the elevator door and the glass shards you receive on the robot head to make a disco ball and place it on the Stanchion. Use that on the spotlit area in the Services Access area and head up the ladder.
Press the red button on the left, then at 1 o'clock, 11 o'clock, and 3 o'clock, head into the control room. Click on the helmet (if you need the prompt), then watch the conclusion.
This isn't for 100% achievements - I'm still missing some as I haven't fingered (ooer!) the wrong person yet, got all the moxie, nor unlocked the Eavesdropping or Moonrise Falling achievements. If you know how let me know...


