


Finally, a weekend to clear up the Steam library, delete some demos and replay some titles to free up more space. One of the first victims is Papetura, and as it’s relatively short, I felt what the hell – let’s do a Papetura walkthrough so there are a few more posts to sift through in the Guides category.
The achievements in this game unlock as you go along, so pending you stick out the hour or something playthrough, you’ll earn all ten in the process.
Oh, if you’re reading this Papetura walkthrough before actually playing the game…

Without further ado…
Papetura Walkthrough
Hit the first pod to move the moth, then pick up the cone on the floor. Shoot the remaining pods with your new weapon. Make sure they’re all lit before leaving.
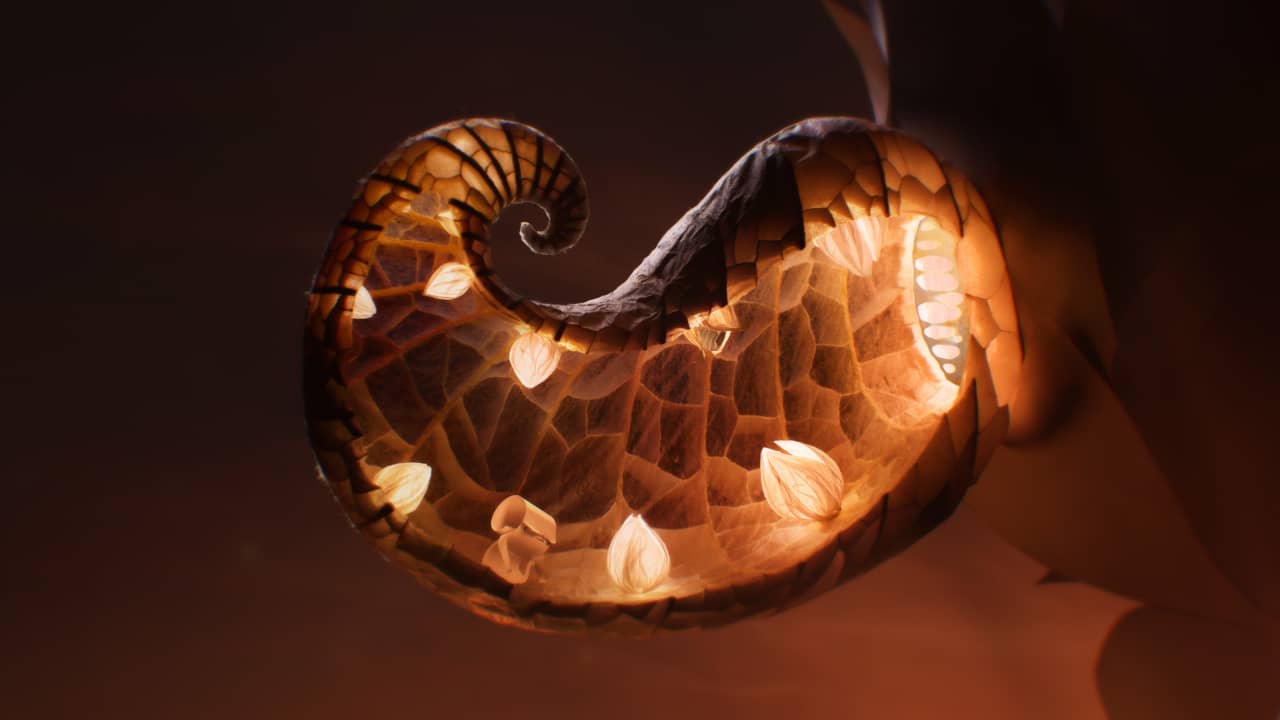
Shoot into the mouth of the monster(!) to create a bridge, then move the cursor to its right so that you can push it into the starting room to eat the moth. Now walk to its left and push it to the next room to the right, then climb up the stem.
Head to the far right and talk to the chap sitting down. Next, you’ll want to go back down the stem and make a note of the lights on the monster. Mimic that with the stems above (there are six, and on my second playthrough, the pattern was 1, 2, 3, and 5). The screen will shake to confirm the order was right.
Head back down to where the monster is and push it into the hole. Keep moving from the left to unravel your path. Follow the way to the right, then when hell breaks loose, head left. When you get to the bridge with three creatures embedded in it, click on the first two so that the bridge drops. Go underneath and click the far right, the middle, and left so that the bridge raises.
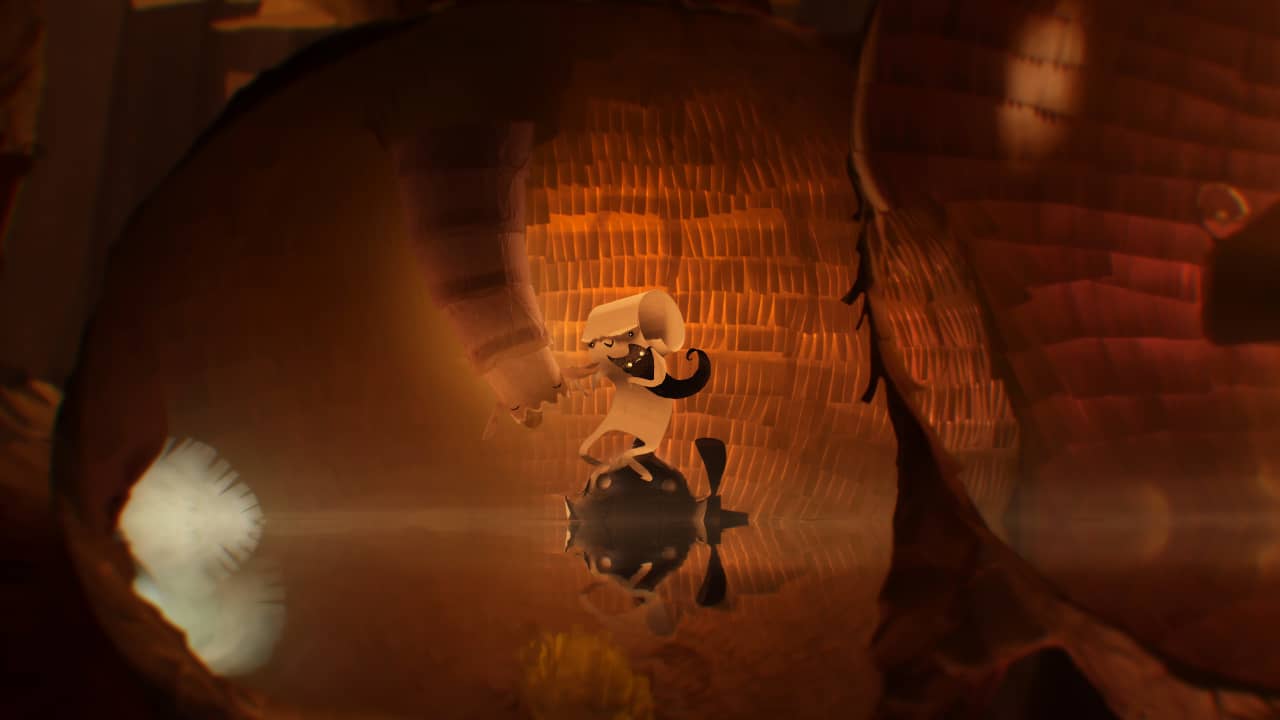
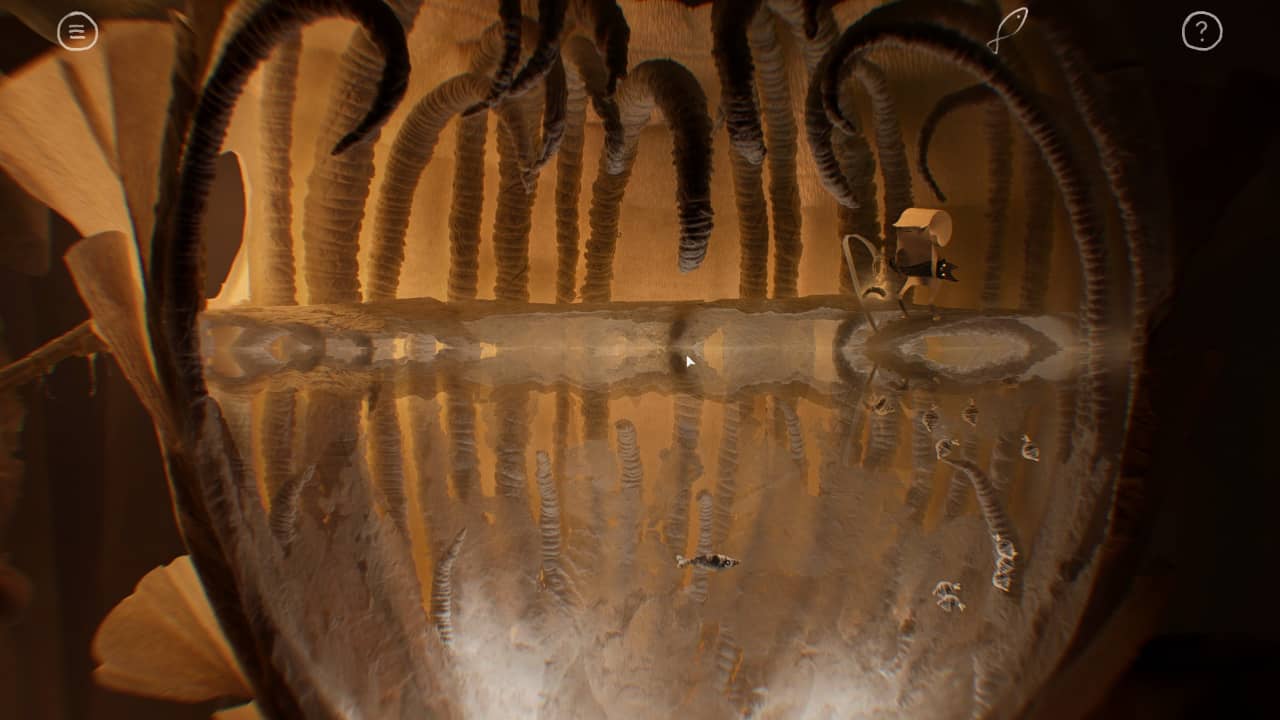
Walk to the right, then underneath the bridge will be Tura. Click on them to save them. Once underground, click the orb to light the room. Head down, shoot the sea creature, then position it so that the falling debris pacifies it. Climb on board, then head to the hanging worm thing very slowly to befriend it. Get it to lower the water, then exit left.
In the underground tunnel, shoot the hanging vine and swiftly walk past. Keep following the path up. You now need a key to return, so head left into the first building. Go down the first hole on the left and shoot the creature that’s hanging from a vine. Return to the room before, head to the top and exit right. On the top of the building is a hanging ladder which you need to head to.
You’ll need to fire a ball into each of the three cups to pull the ladder down. I found that standing on the left-hand side of the ladder and targeting the bottom left, top left then right was the easiest method.
Go up the ladder, watch the animatic and create a pinball effect by ricocheting the ball off each orb to light it up. Speak to the creature – it has a fetch quest for you. Exit the room, go down the ladder, then head right to a pool.
Click on the bait, then shoot into the centre of the water and wait for it to sink. You’ll want to grab the larger fish – the smaller ones will nibble the bait and leave. When you have a bite, hold on to the left mouse button to reel it in for a fish, then throw your line in again to target the octopus at the bottom of the pool.
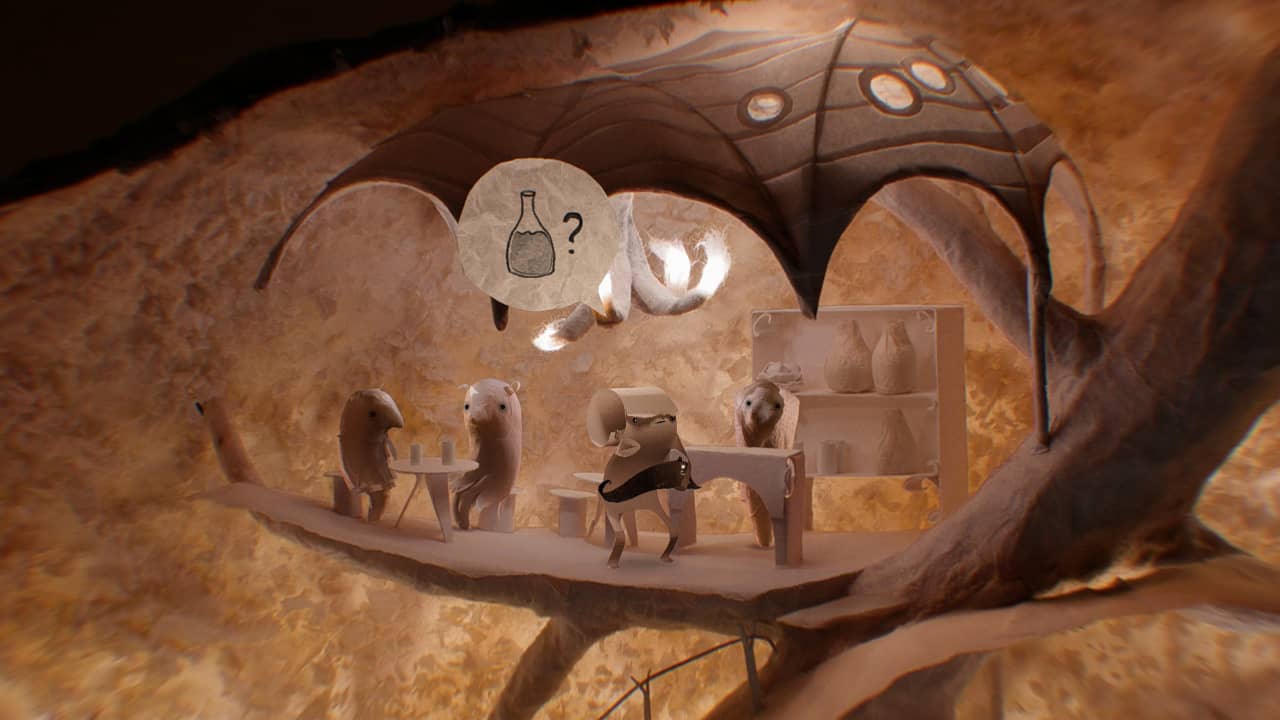
Leave the area and return to the building on the left, which now has creatures inside. Speak with the character that looks like a bartender. Give them the octopus in return for a bottle. Go down a level, then give the fish to the creature you saved in exchange for a book.
Now back down once more to where you saved them, head right, shooting and moving each time you hit a vine. Once past, follow down to the left into a room. There’s a painting in the middle. Click that to reveal a puzzle, but before attempting, interact with the blind to the left. The puzzle will now light up. Make a note of the path, then start from the top left ‘bubble’.
Back to the brain area where you lit up the orbs like pinball and hand over the bottle, specs and books. You’ll now drop Tura into the mouth and navigate around each pod to light them up. You will have to backtrack a couple of times as each time you touch an orb; it’ll go on or off.
Once they’re lit, head to the bottom and avoid the nasties until the time runs out without getting caught. You’ll now have the key, so leave the brain, down the ladder, left into the bar area, down past where you got the book and off right. Go to the furthest right and use the key in the doorway.
Follow the path down and to the right, shoot the hanging vine and exit right. Click your worm friend and get them to raise the water (twice), then click on the keyhole to exit.
Shoot a ball into one of the top left holes to adjust the direction of the wind, and watch the ‘cutscene’. Climb up the ladder and into the balloon. Click on the areas above the balloon to climb. You can’t directly shoot the floating enemies, so wait for them to open their mouths, then shoot a ball into them to pacify (you’ll know as their eyes change from red to white, then they’ll leave).
Towards the top of the screen is a large opening, to the left of it is a spout with steam coming out. Fly into it to increase the size of your balloon, then fire a ball below. Go back to the opening, and you’ll get stuck and then pushed out.
And that’s all there is to it. Sure, it’s short, but this is nothing short of a visual masterpiece, but at least you now know how to finish it. That is if you got stuck.


