


Writing The Night Is Grey walkthrough, the new point and click adventure from Whalestork Interactive, has been one of the more challenging write-ups I’ve done so far as I struggled with the puzzles from the get-go.
Look, we’ve all been waiting for this for the past couple of years – don’t bail on this now: there’s a solution in front of you. As always, follow this The Night Is Grey walkthrough however you see fit – from start to finish or for the bits you’re stuck on. I’m still working on the achievements, so I will write that separately.
Good luck – this one was tough!
The Night Is Grey Walkthrough: Chapter 1
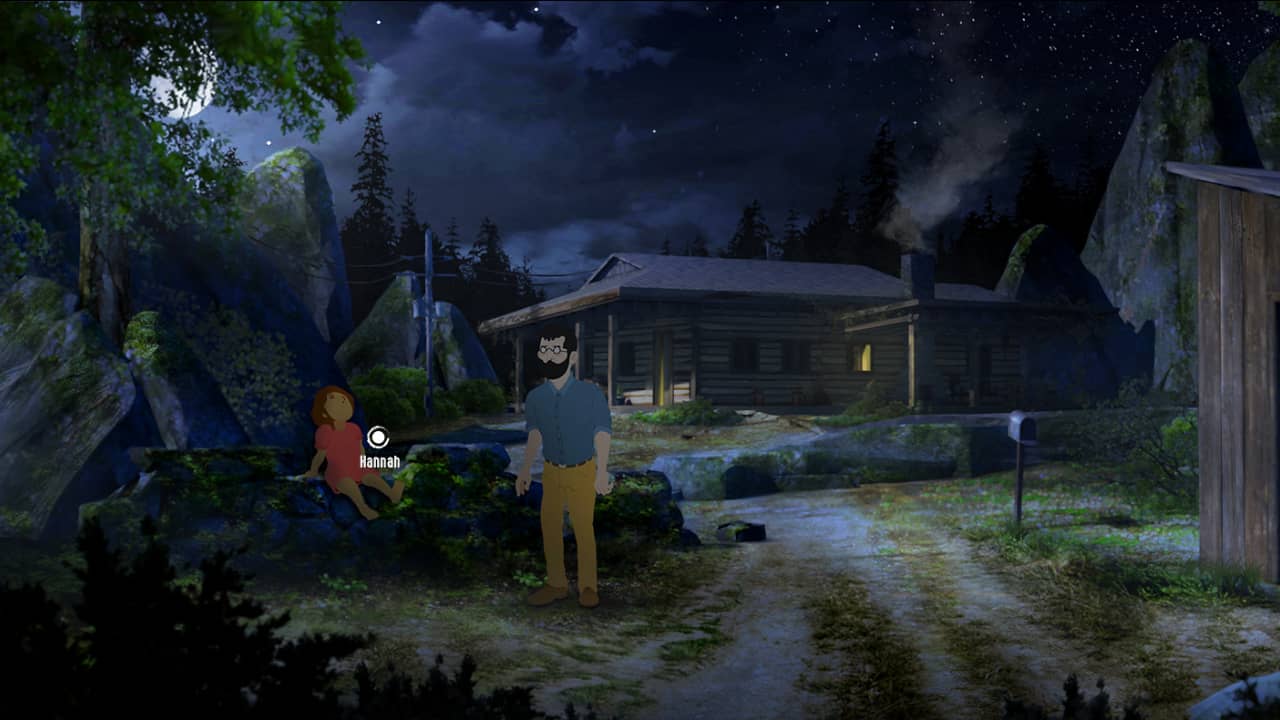
Walk right and head towards the cabin. Tell the girl (Hannah) you’ll sort out the power. Open the key box immediately next to you, then go outside and open it from your inventory. Grab the fuel tank on the far right. Head down and use the key on the shed. Take the duct tape, exit, and go left, where the path trails above. From here, take the handkerchief on the post and interact with the generator. Take off the cap, pour the fuel, pull the cord and complete the QTE.
Return to the shed, pull the light cord and try to reach the items on the shelf. Go back to Hannah, follow her outside and exhaust conversation to get her to help you with something, making her climb on your shoulders. In the shed, take the plushie and the saw. Talk to Hannah again, then go into the cabin, take the butter knife and combine that with the saw. Head down and use the saw on the ivy. Return to Hannah, and she’ll ask you to write a note. Look inside the rubbish bins to get a red crayon. Take it and use it on the notepad in the cabin. Tell Hannah and escape to Chapter 2.
The Night Is Grey Walkthrough: Chapter 2
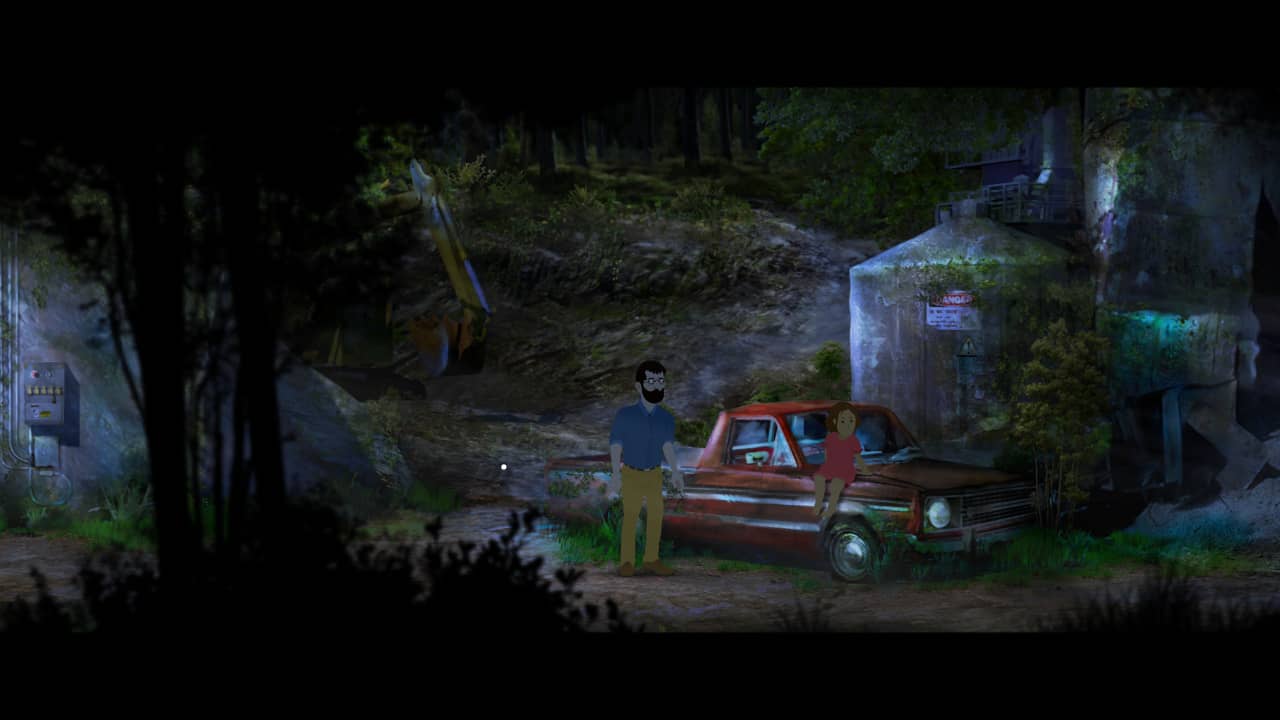
Look inside the car’s trunk and take a metal ‘thingy’. Walk to the right and pick up the handle before exiting the screen, then take the screwdriver from the toolbox and use it on the blue oil barrel to expose the oil. Dip the handle in the barrel. Inspect the white jackets twice – first to get a key card, the second to reveal a card slot. Look at the diary on the table, clicking the paper clips to show more entries. Return to the car, use the screwdriver on the headlight, and take the wire. Walk left and use it again in the control panel. Go through the fence, then finally use the tool on the doorstopper. Inspect the lamp to get a wick, then look at the cables to get a small cable, and another metal item on the floor. Strip that cable on the barbed wire, then join it with your other wire and apply it to the exposed wire on the control panel.
Insert the oiled handle into the panel, flip all the switches down so that ’31’ and ’09’ are the only flicked up, then pull the handle for power. Go back to the far right, look at the card reader and use the card, entering the colours from the diary 331652, using the colours on the back of the card and head inside:
- Yellow
- Yellow
- Dark blue
- Green
- Pink
- Red
Look at the screen and switch to the mine cam (yellow). Interact with the second dial until you see another metal part (make sure to click on the item on the screen to acknowledge it). Click on the document, then use the bent key on the bender outside. Finally, head to the mine, take the metal piece you saw on the screen, and inspect the control panel. You want your pieces to resemble the picture below:
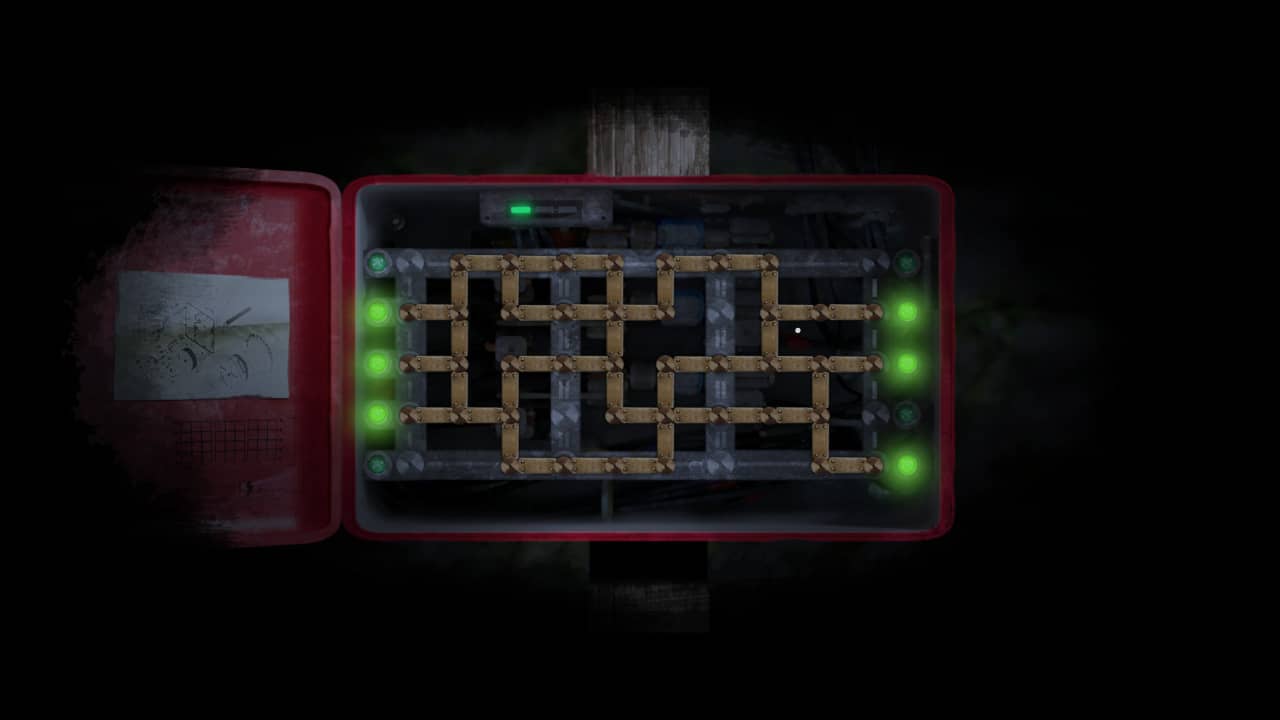
Inside the mine, use the mine key on the floor to the left to reveal a ladder. Return to Hannah and tell them you’re both leaving, then return to the mine ladder for the end of the chapter.
The Night Is Grey Walkthrough: Chapter 3
Walk left to find a spot for Hannah, then return to the ladder to get the valve wheel. Save your game. After chatting with her, look at the diagram for the pumps, then through the door and walk right. Inspect the wooden cabinet closest to you and use the security card. Take the old lantern and move a dossier to get a bulb. Use the wick with the lantern. Walk through the top right door across the lift to look in the <empty> boxes, then walk off-screen to the left and go through the bottom right door and interact with everything, then return to Hannah, and she’ll give you some matches. Exhaust the dialogue with her, then return to the previous room and use the matches on the rusty barrel and lantern with the oil and head up.
Note that you must be quick as the flame will die, resulting in a game over, and you CAN’T save the game here either. This was the most frustrating part of the game. I suggest you save frequently.
Now go right and look at your map via the inventory (and do so at every point you stop to refill the oil – unless you’re following along on this walkthrough).
Next, it’s up, up, right, down refill, right, take the blue valve, look at the journal, and exit left.
Now up, left, left, left refill, left, up and apply a valve wheel on the machine, then use it, followed by right, right refill, up, right, up, left refill, right, right, use valve, then go all the way left until you meet the wolves.
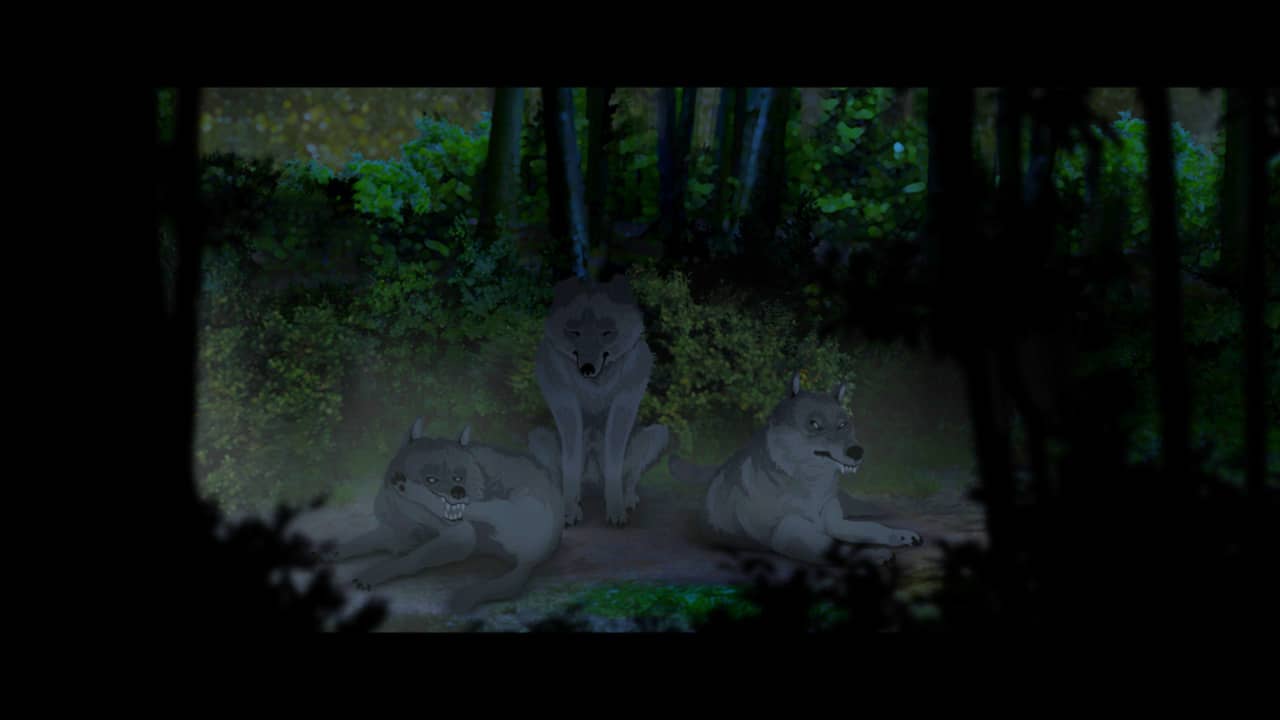
Answer with the following, or it’s a game over:
- I think you’re already full.
- I just want to help Hannah.
- I’ll do what I need to.
- Monsters.
- It just does.
- It always is.
Finally, down, use the valve, down, down, refill and right. Look at the clipboard and take the key. Take out the first bulb and put it in the top left and another one next to it on the top row. Take out the next bulb and place it in the far bottom right, then the valve in the hole on the right. Use the key on the door to unlock it, then use the valve exit to the right and get Hannah, walking off to the left.
The Night Is Grey Walkthrough: Chapter 4
In the tower, take the metal funnel and the piggy bank. Look at the journal and leave. When outside, go back up and down the stairs multiple times for the NO! NOT THE KNEES! achievement. Head right and return to the tower again to talk to Hannah and flip all the switches up on the panel. Return to the noticeboard area, look at the note, and go down. Pick up the pump to the bottom right, then return to the noticeboard area and take a left. Plug the power plug into the soda machine. Return to Hannah, but this time, interact with the panel outside and ensure the park switch is up. At the noticeboard area, throw the piggy bank at the rocks to get change and use this in the soda machine in the area to the left and take the can.
Return to Hannah, give her the can and exhaust the conversation. Back to the noticeboard area, go right and use the can on the nails on the post and combine with the pump, then the duct tape, and finally the paper. Use your matches on the rusty area by the post at the bee hive area, walk off left and exhaust the conversation at the outhouses. Go back to the tower and turn off the power to the toilets. Re-inspect the guitar to get a ring.
At the toilets, look at the benches to get a disc, then go to the lock at the foot of the tower and enter click the lobster, anchor, bottom tight flag and the heart (these are the glow in the dark symbols found where you switch off the power to an area). Drop the two discs onto the puzzle next. Rotate the left disc so the top symbol resembles an ‘N’ underlined; underneath will be an X underlined. On the right, the top symbol should look like a square without the bottom line, and underneath, a triangle. Click the inner symbol. As there’s nothing there, go back to the outhouses and speak to the guy in the toilet again to find the keys in the door (take them).
Again, head back to Hannah, then back to the noticeboard area and keep going right. You’ll be back at the mine, so go into the control room, look at the screen and interact with the channels. Use the first terminal in order – click the following buttons and look at the screen between each section to see the wolf and Hannah (imagine the first top number as a 1, moving from left to right):
Section A: 1, 2, 5, 7, 8, 9, enter
Section B: 3, 5, 6, 7, enter
Section C: 1, 3, 4, 5, 7, 8, 11, 12, 16, 14, 13, enter
Use the lift control panel on the right. Look at the screen to see the result, then go to Hannah by exiting and going through the now open door. After the conversation, use the keys on the welcome booth and the new key on the gates behind Hannah. Use the handkerchief on her face to clean her up and leave.
The Night Is Grey Walkthrough: Chapter 5
Walk right until you reach the camp and talk with the researcher. After the conversation, walk right and investigate the box, then walk left and up to see Otto, exhaust the conversation options, open the pipe on the right, talk to Otto again, and then go to the cabin only to have forgotten your key. Once more, talk to Otto and you’ll find your key on the table. Now use that in the door and enter.
Take the corkscrew and flip the power switch. Look at the journal on the bed, then go beside Otto and pick up the pile on the floor, get another from the entrance to the camp, then to the left, take another pile as well as the chillis. Chuck the piles into the open pipe by Otto to ruin the ventilation. Back at the camp entrance, take the key from the noticeboard, use it on the padlock to the side of the tent, and then enter. Take a flask, look at the clipboard on the far right, and return to your cabin. Place the chillis in the pot and combine with the flask. Return to the tent, use the flask on the apparatus on the far left, then leave. Talk to the researcher then take another flask. Go back to Otto and take his nails and put them in the pot, then with the flask and do the same thing with the test apparatus.
The Night Is Grey Walkthrough: Chapter 6
Return to the tent, exit the campsite, walk to the lighthouse and go inside. Look at all the photos, exit via the central door, and come back and inspect the drawer to find a journal. Go back up the lighthouse and interact with the door to kick it. Look through the telescope and the rope on the far left and try the bottle. Return to Otto and exhaust the conversation. Try taking his hammer. Return to the tent and take a flask, return to the lighthouse, use the corkscrew, and then put the flask on the bottle again. Give the wine to Otto to get the hammer. Go into the cabin and use the hammer in the boarded room. After returning the hammer, exit the opened door and enter the boat.
Look at the photos, take the cigarettes and paddles, and exit after the cutscene. Go to the jetty and use the oars on the boat. Once on land, walk right and head to where you found the generator in Chapter One and talk to Ava. Ah… now you get it. Walk back to where you found the wolves at the beginning and rinse and repeat the beginning part.


