


If you’ve stumbled upon The Sundew walkthrough without playing the game, get it first and at least try playing through before reading a walkthrough. Unless you’re just comparing notes.
 Jeitaro
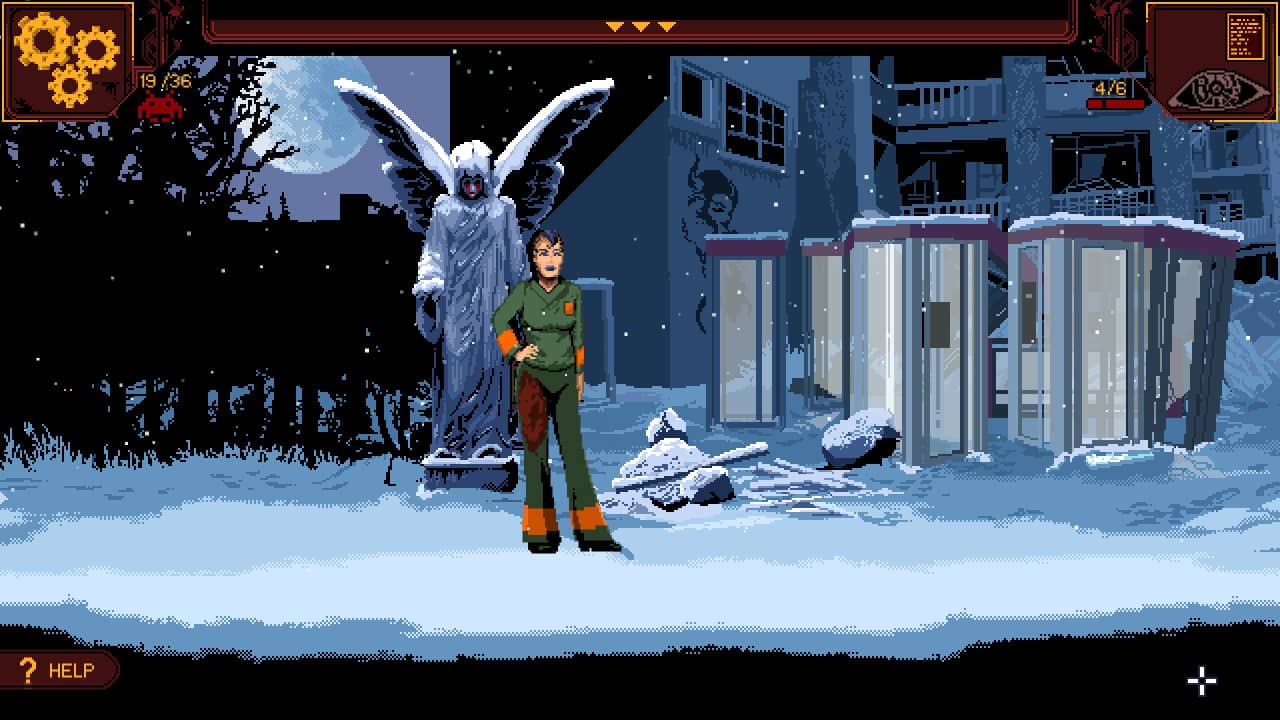
The Sundew Walkthrough
Anna’s Apartment
Walk to the left and hit the light switch.
Take the nail clippers from the third shelf and the Bufferin from the second.
Back into the main room and use the nail clippers on the silver strand of hair of your previous night’s entertainment.
Click on the first Space Invader in the window to add to the list.
Grab the clothes, then open the unit underneath to reveal the power supply, then click on the fuses.
Look in Rick’s coat to the left of you to find your MedPass and copy his ID.
Pick up the glass to the right, then use it on the sink. Combine that with the Bufferin to cure your hangover (actually drink it by dragging it on to Anna).
Talk to the robot, then call a cab using the eye icon in the top right. You now need to fix the terminal.
Head to the balcony area and use the nail clippers on the terminal, then combine with the silver thread.
Go back to the fuses to turn the power on.
Finally, book your taxi by clicking on the eye again.
HQ
Pick up the hairpin immediately on your left, and to the far left, collect the plastic bag.
Head right, and before the exit, there’s another Space Invader mark right in front of the entrance.
Exit to the right, and from the first window, pick up the markers.
There’s another Invader on the wall immediately behind the glass door.
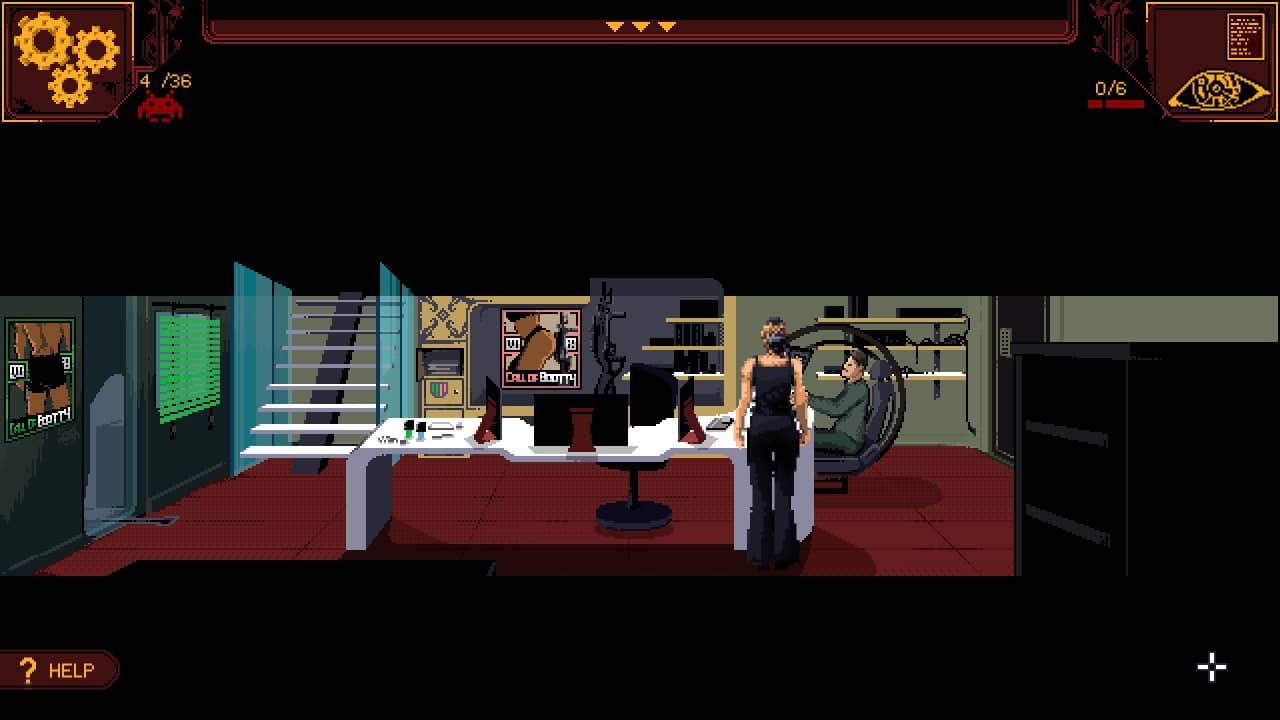
Go inside the IT Depart, and underneath the Call of Bootty poster is another Space Invader.
To the right of the stairs is a locked cabinet. Use the hairpin on it to get your payment card.
On the desk, to the right of the main monitor, is another marker, this time, it’s yellow. Steal it.
Exhaust the conversation with Jimmy to get some money and for him to sniff out the deets on Rick.
Before heading upstairs, take Rick’s plant. He did say you could have it.
On the far left behind a window is Neo. Have a chat with it and exhaust all conversation options, then go back downstairs and into the hallway outside the IT Dept and take the stairs down.
Enter the locker room and to the bottom right of the second chap’s love handles is another Invader.
Anna’s locker is on the right side of the room in the centre with a poster on it, but you need her badge to open. Make a note.
Leave and walk to the noticeboard and look at all the notices, notably The Winners notice for a quick achievement. There’s an invader on the far left of the board.
Pick any item on the vending machine and use your money on the bill slot. Eat the rice balls by dragging them onto Anna.
Repeat the above, but this time use your payment card on the slot for cards.
At the bottom of the machine is a green ‘N’. If you use the yellow marker on this, you’ll get 1/6 achievements.
Now enter the meeting room to the left.
Talk with Arabella, then once finished, grab the red card behind where she was standing (used to access your locker).
On the far right, an Invader is embedded into a chair.
Head back to the locker room and use your card to get a precision rifle and camo coat.
Return to the entrance, and the guard Ichiro is on duty. Have a chat.
Once finished, take the darts. Make sure to put both your coat and rifle in the slot below Ichiro, and you’ll get a notification that Karin is in the lab.
It’s worth pointing out there there are some defaced letters W and L on the welcome sign. Use the purple markers on both.
Go back to the lab via the IT Dept and up the stairs to talk to Karin. After speaking, take the plant then the solution in the large vase to the left.
Now give Karin your MedPass.
Talk to Neo to get your darts filled up, then head into the Analyser on the far right.
After the sequence, click on the next Invader – between both Neo and the assistant robot, then head back down to IT.
Back to Ichiro at the entrance, and you’ll need to leave him your darts, then call a cab.
Exit left, click on the cab, then head to Minegashi Heights to the restaurant.
Jeitaro
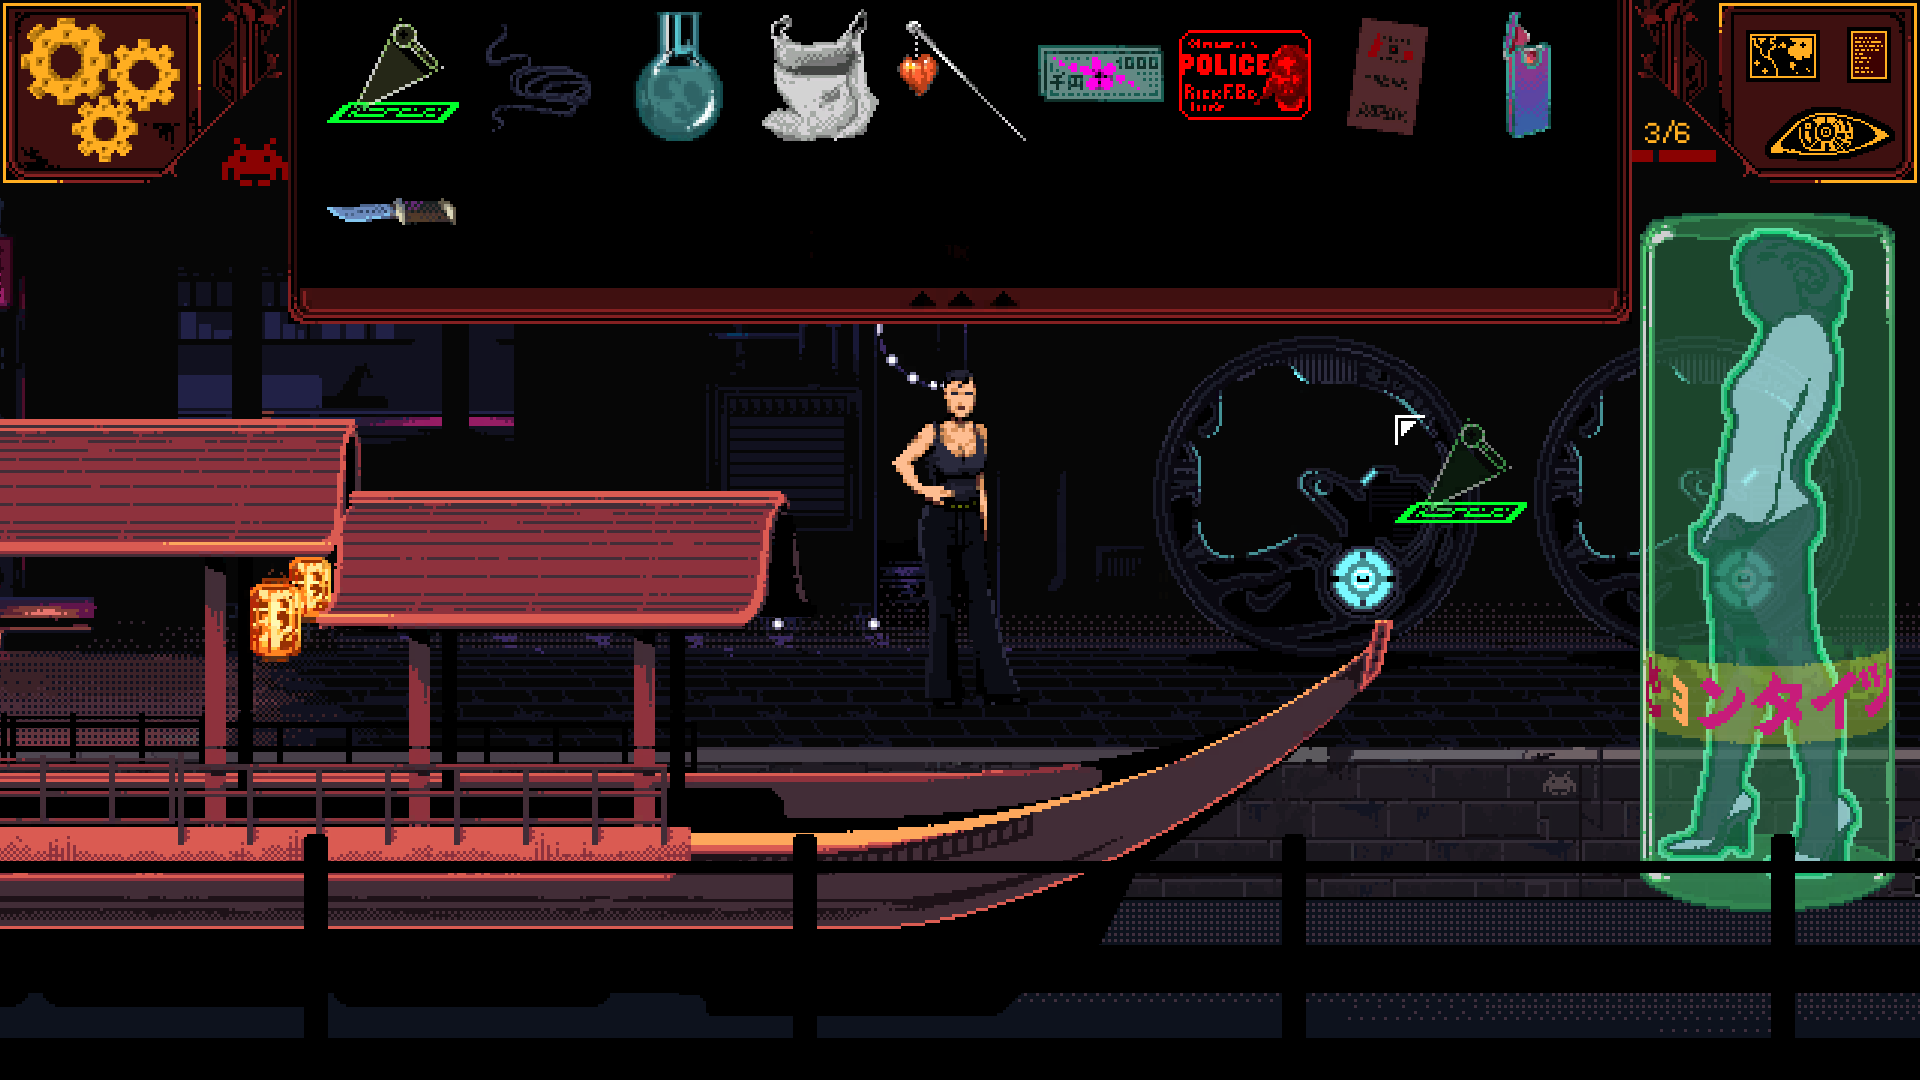
The Restaurant
Right under your feet is the next Invader.
Enter the dark alley, not the poorly lit alley.
After the grunts, walk to the furthest left into the restaurant, then click on the Invader in the bottom right booth as you enter.
Talk to the man alone on the far right and exhaust the conversation.
Before going to the toilet, exit towards the terrace.
To your left is a cord. Take it, then exit, take a right, and go into the toilets.
Inside, take a towel. They’re free.
Push the button on the first toiler stall, then inside, click on the Invader on the back wall, and pick up the smokes on the floor and inspect them in your inventory to retrieve a lighter.
Turn on the left tap and use the towel on the water. Use the wet towel on the graffiti on the mirror, then use your marker on the remainder for an achievement.
You need to clear the azaleas in the window as if some futuristic MacGyver:
- Mix the plant solution with the plastic bag to make some fuel.
- Add it to the azaleas on the right-sided window.
- Place the cord in the solution to make a wick(!?!).
- Use the wick on the bag.
- Light it!
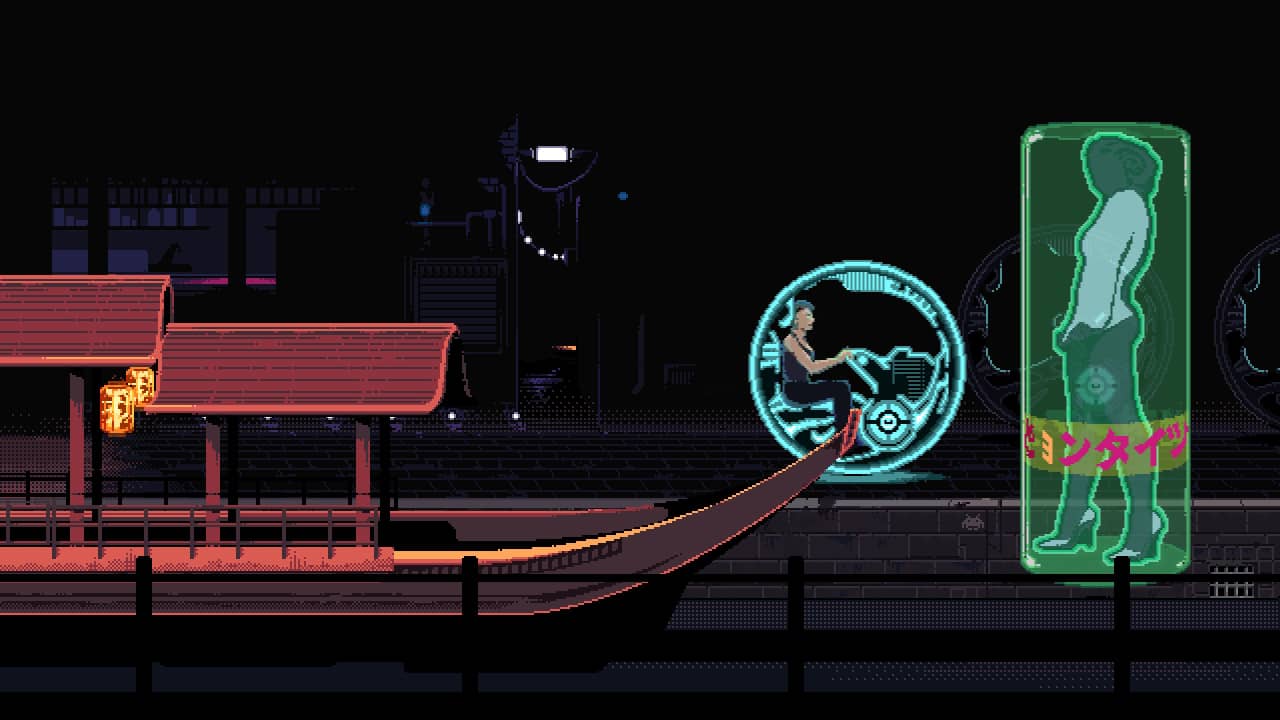
Use the toilet, then head outside the window and climb the ladder to the top. You can now access one of those cool motorcycles and exit the area.
The Museum
Before entering the museum, there’s an Invader on the first floor to the left in a window.
There’s a box by the right side entrance. Use your badge on this to gain entry.
Before moving, you’ll see an Invader on the floor before the left exit.
Also, take the flyer on the small bench by the entrance.
Take the elevator up, and you’ll see another Invader on the floor to the far right.
Walk off to the right, and in the new scene is another Invader, this time embedded in the neon sign.
Click on the large wooden crates to confirm a sniper spot; then exit left again to enter the door next to the Invader you saw last.
You now need to decide which person to shoot – either is ok; I went with the original target as I decided to go rogue.
Exit the building to greet your welcome party.
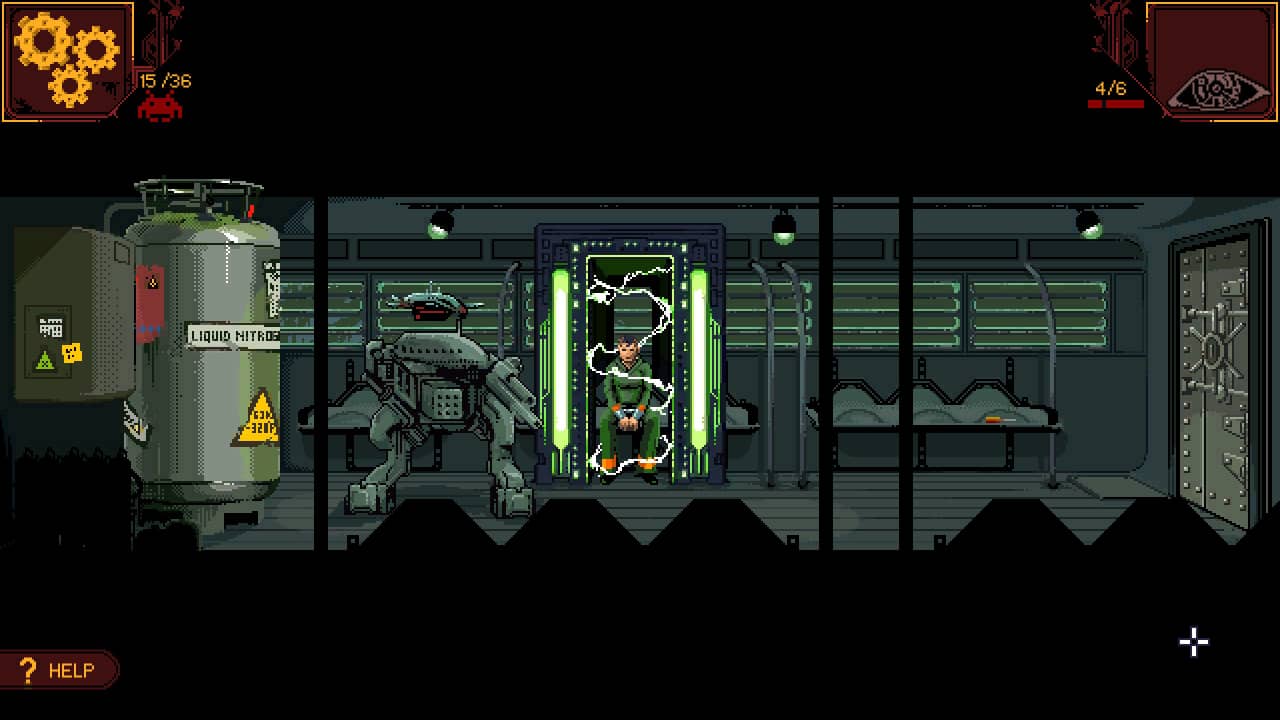
Captivity
Speak to Lama, the flying robot. If you tease it, it’ll attack you but inadvertently take out itself and the ED-209 wannabe.
Click on the next Invader, located where you were sitting.
There’s a yellow note on the far left of the tank – take it.
On the far right bench, there’s a screwdriver not bolted down either, so take it.
Without any way to escape, after exploring, then using the screwdriver on the metal box, you’ll be freed. Just make sure to click the Invader on the moon!
Drink the energy drink and pick up the metal on the floor.
Click on the nitrogen and break your cuffs, then head off into the moonlight, well, the forest path to the right.
Buraku
Your next Invader is off to the far right of the screen, hidden in a building.
Over your shoulder to the North, take that path through the fence.
Take the bottle of acetone, plus the battery rack under the motorcycle.
There’s an Invader in the first building to the right, just about the fence.
Return to the previous scene and head right.
Spiders are hovering that prevent you from heading North. There are two Invaders here, but you can’t click them 🙁
Instead, walk to the right and speak to the girl, Yoko, and exhaust all dialogue.
Take the object protruding in the snow behind, then head back to the angel.
Use it on the angel’s hand to locate a hidden cover. Inspect it to take three new items, including a Nintendo Switch?!
Head back to Yoko and enter the building behind her (Dark Room). You can now select the Invaders here.
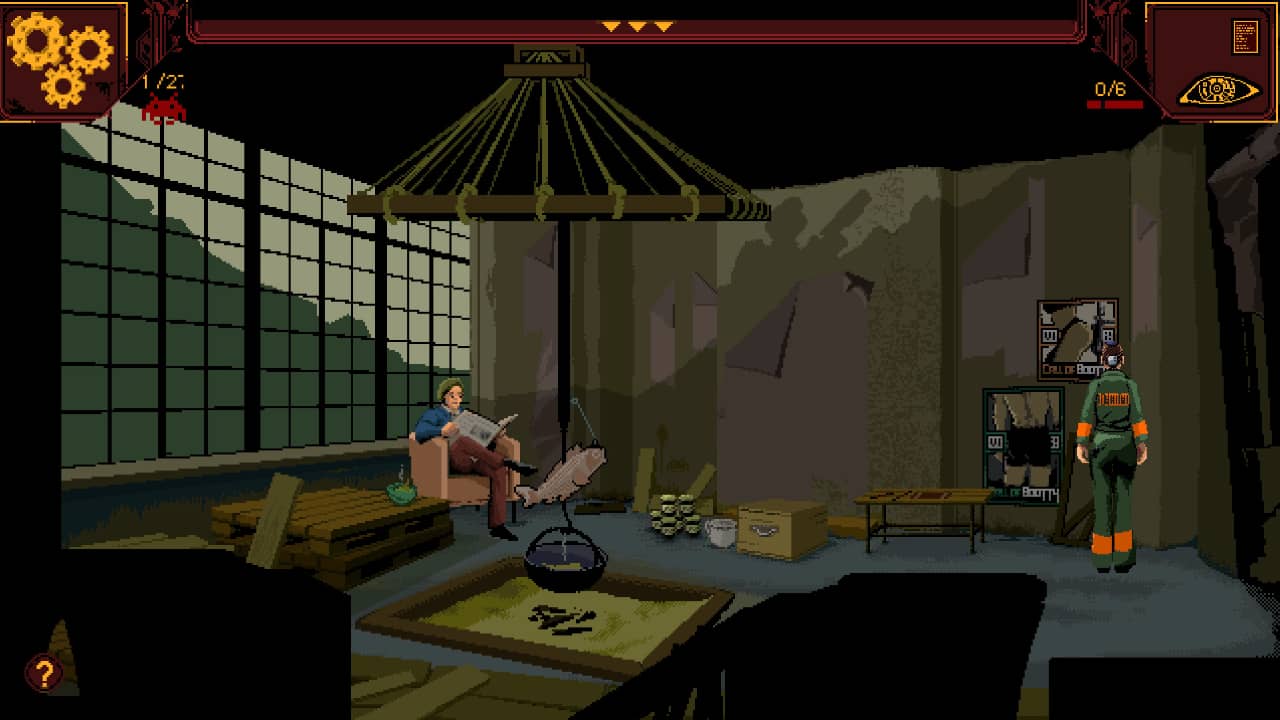
Take the doorway to the left and speak with Yukio.
There’s an Invader on the wall to the right of the fish that is cooking.
Time to meet Nao, so exit this room and go down the stairs.
Exhaust all options with her, then take the stairs up to the attic.
An Invader is right in front of your eye line.
To your right is a note with the number 2731. Significant?

To the left of the room, open the centre panel to get the scrambler, behind the left panel is an old brush plus an easy to miss marker, and in the right panel below the Invader is a chemistry set, a.k.a. chloroform.
To the rear in the Dark Room, and inside at the top left is an Invader.
Also, take the book to your right and the vase at the top right.
Exit the building, and inside the alley are some pink flowers. Use your new vase on them.
The final point of interest is the balcony above. Go inside to uncover a little hangout.
The next Invader is showing up on The Matrix-like screen at the rear.
Talk to Kira, sitting on the stairs.
Pull the doorbell behind Kira, and after being introduced to Blobby, hand over your memory card.
** Save your game**
Pull the bell again.
You’ll have the option to choose boost or no boost. If you opt for the first, you will have access to all three endings.
Ring the bell again and finish talking to Blobby so that you’ll be allowed to pick up the pink card on the floor.
Drag the memory card onto Anna, then leave the area head to the scene where you saw the flying spiders – there’s a table next to a snowman to interact with.
Place your scrambler on the small table to find it doesn’t work. Head back to Nao and hand over the scrambler, mobile phone and Switch.
You’ll need to return to her office in 10 minutes, so just head outside, then back in again, up to the attic, then into the Dark Room.
Talk to her, and she’ll give you the scrambler.
Leave then return to where she was sitting downstairs, and you can now enter the code, 2731 from before, into the digital box to reveal the next Invader, a small green box containing Yukio’s ring, plus a lid.
Return to Yukio (the bee man) and hand over his ring in exchange for some honey and grease located on the table next to another Call of Bootty poster.
Now use the scrambler on the table by the snowman once more.
Head North to the Residences as the spiders have left, then click on the Invader to your left on a wall. Leave the area to the right.
Inside on your right is a panel that you need to apply grease to. Inside are old clothes.
The next Invader is in the scene off right, located at the top of the wall and to the right.
Use the marker on the fish for number five of the graffiti achievements, then on the kanji to the left to complete it.
Click on the gate to the right, then take the elevator.
In the next scene, click on all the plexiglass panels to remove them, noting that some have doors behind. Open these to reveal batteries.
Before heading to your inventory, look to the top left for an Invader looking like a spider in the top left. The book you should have picked up from Nao’s Dark Room and read it for a plexiglass recipe.

Head back to the residences where you found an Invader on the lower wall, and you’ll note the machine in front is for washing.
Insert your tokens (finally), then place your sheet in the locker to wash it (it automatically selects your clothes too).
Back to Nao’s to use your sheets with her scissors.
Use the honey on the new bandage strip, then the remaining clean strips in the Nambu kettle to your left.
Next, you’ll need to make the glue from the book, so place the plexiglass and acetone into the empty jar, top it up with chloroform, then place that into the kettle.
The next bit wasn’t obvious, but there are some safety pins in the bedroom in the attic. If you head there, Anna will change into her new clothes.
Go back to the kettle, take your glue, then locate the broken motorbike North of the angel statue.
Combine the battery and rack, place it into the bike, and apply glue to the battery cover.
Use the badge you got from Blobby, and ride the bike outta there.
End scene.
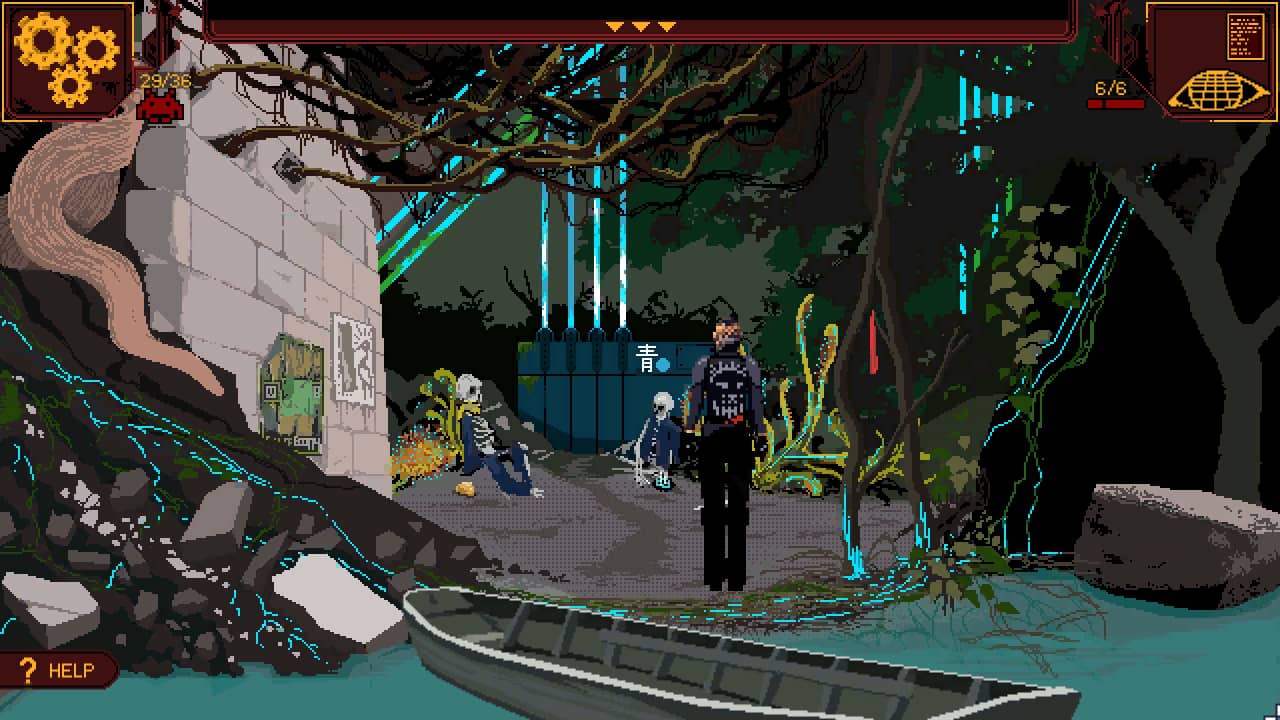
The Island
Anna will be in front of your view of the next Invader. Step to the left, and you’ll see it on the mountain.
Click on the boat in the lake, and Anna will walk off-screen. Now click on the first area to the North, tangle of vegetation.
In this new area, pick up the badge, sharp stick, red piece of fabric hanging from the tree, the stone to the left of the first skellywag, then click on the panel to your left twice to get some paper.
You need to put some objects on the light rays to the rear. Combine the fabric and the stick and place these on the rays, followed by the paper, then the glove for you to go all Tron-like.
Tou can’t do anything here, so click on the eyeball to exit.
Before you leave, there’s an Invader on the rock to your far right.
Back on your boat, head to the castle entrance, click on the next Invader below your feet.
Use your badge on the slot of the door and enter.
To the far right of the room is another spider-like Invader.
Next, click all the discs on the ground (in no particular order).
This bit was done in frustration – click the eyeball again – who’d have thought?
I have no strategy for the VR room, other than go through each portal to locate all the bouncing balls with letters. This isn’t a complicated maze, so it doesn’t require a map.
Once you have everything (seven letters), exit the VR and place them on the discs you have raised.
Each time you place a letter on a podium, go to the right to validate it to see if in the correct location.
If you want a quick answer, from left to right, it’s SAAOGII.
Validate the code on the panel, then walk through.
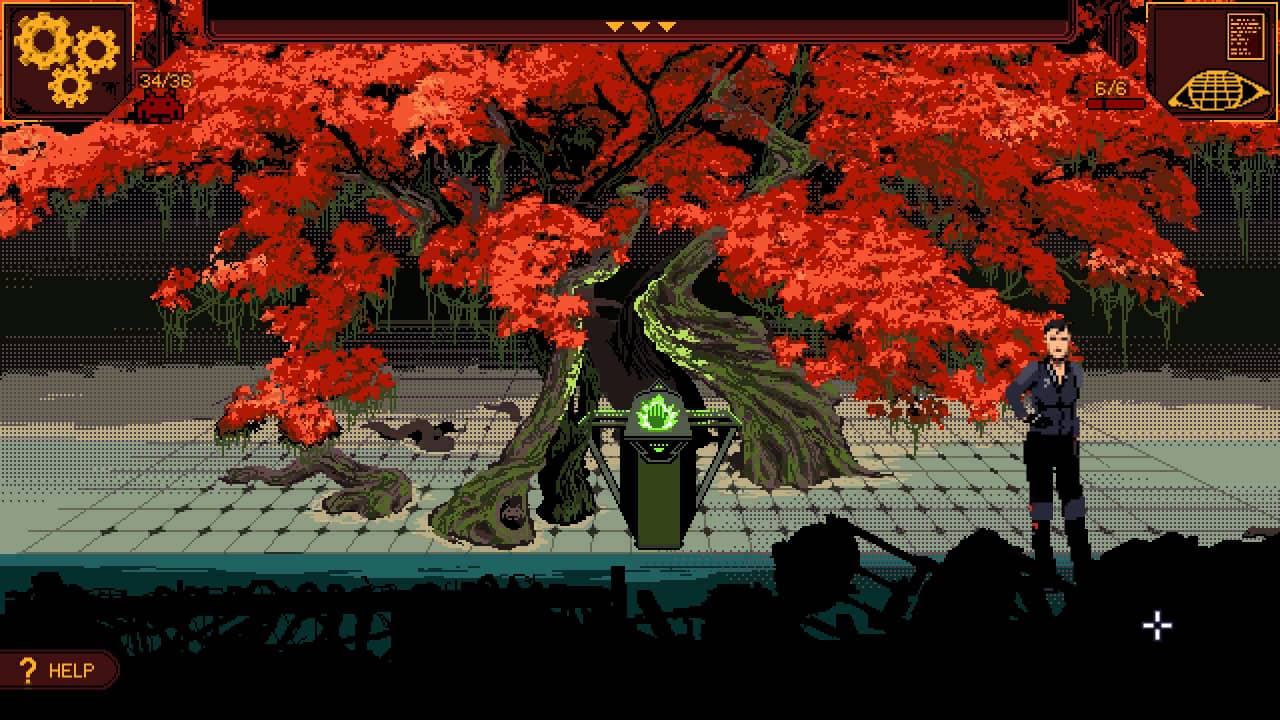
An Invader is at the foot of the tree.
Exhaust the dialogue and get a few more answers from the first head.
Chishiki No Kaze Ending
** Save here as this is your Primordia moment. This route was my first ending: Chishiki no kaze **
If you trusted Nate, go back into the computer and look at the text on the left, and you’ll find a passport. Exit using the eye icon, then exit to the right once the branches clear.
In the pool room, there’s an Invader among the vines underwater.
The final Invader is through the next room, via the Exterior door and between two posters on the far right.
Under the last Invader is a note with the name Kitano. Look at the screen and enter Kitano as the user, followed by the password from the glitchy text.
Feel free to explore the options, but if you head to commands, and select the NateBoost.exe, then into settings, control mode, then connected user control, you can then head back to the program and merge. All…that…power…
Extreme Fighter Ending
Head three gave away that tampering with the oxygen would give a 50% chance of killing it off. In my opinion, this achievement was trickier than the others, as it was a case of clicking everything and persevering.
Have a look around the Heart Room at all the pipes and gauges, return to the pool area and look at the tubes on the right; return to the Heart Room and inspect the rigid pipes to spot a weakness – a dark area. Take out your sharp stick and pierce it! The Sundew will try to talk you out of it, but stick with it.
Unconditional Believer In The Truth
This is the easiest: just merge with The Sundew without a fuss.
All The Sundew Space Invader locations
- The window above the fuses (Anna’s apartment).
- Just before entering HQ, right by the entrance.
- Hidden behind the security doors to HQ.
- Underneath the Call of Booty poster beside the IT Dept. entrance.
- On the bottom of a locker to the right of the rotund chap in the locker room.
- On the left side of the noticeboard, next to the vending machine.
- Embedded in a chair to the far right of the meeting room.
- Between Neo and the assistant robot after exiting the Analyser.
- Immediately under your feet when you arrive at Minegashi Heights.
- Carved into the bottom right of the first booth in the restaurant.
- On the back wall of the toilet stall in the restaurant.
- In the first floor window of the museum before going in.
- In front of the left exit on the floor inside the museum.
- On the floor as soon as you take the lift up in the museum.
- Embedded in the neon sign outside the museum.
- At the foot where you were sitting in captivity.
- Located on the moon after your train break.
- To the far right of the scene with the angel statue.
- In the scene with the broken motorcycle, just above the fence in the window of a building.
- In the alley, you have to enter through the Dark Room behind Yoko.
- In the alley, you have to enter through the Dark Room behind Yoko.
- On the wall to the right of the large fish cooking by Yukio.
- Above a wardrove in Nao’s attic.
- At the top left of the screen in the Dark Room in Nao’s attic.
- In the balcony area of Buraku, you can see a pink Invader amongst the kanji and hiragana on screen.
- Open the digital box in Nao’s room (2731), and an Invader is inside.
- On the low level wall to your left in The Residences – immediately after using the scrambler.
- On the green wall in the scene after the last.
- On the rooftop full of fans, in the top left screen is an Invader resembling a spider
- On the mountain as soon as you arrive at the Mysterious Island (step to the left to see it).
- On the rock to your right before entering the light rays.
- Underneath your feet at the castle entrance.
- ‘Hanging’ from a tree to the far right of the disc room.
- At the base of the tree after the ball puzzle.
- In the swimming pool after The Sundew.
- Located in the exterior of the pool.
The Sundew Graffiti Locations
- An ‘N’ at the bottom of the vending machine next to the meeting room.
- W on the ‘welcome sign at the HQ entrance.
- L, also on the above welcome sign.
- In the restaurant toilets. Make sure to wipe it with a wet towel first.
- A fish on the wall where you obtain clothes in Buraka.
- Kanji to the left of the above.
Alright, that’s it for The Sundew walkthrough. You’ll have unlocked 100% of it if you followed everything. If you’re missing an achievement, just sift through here, and you’ll eventually get it.
I hope this helped out, as it took a fair bit of time running through and jotting it all down.
Ta for reading!


